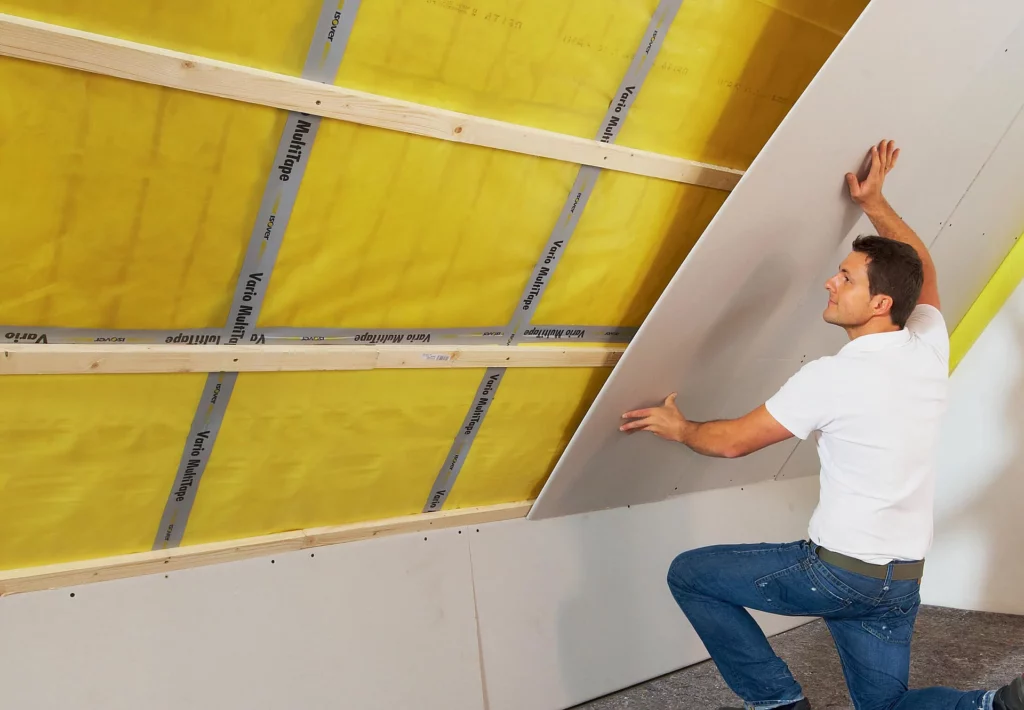
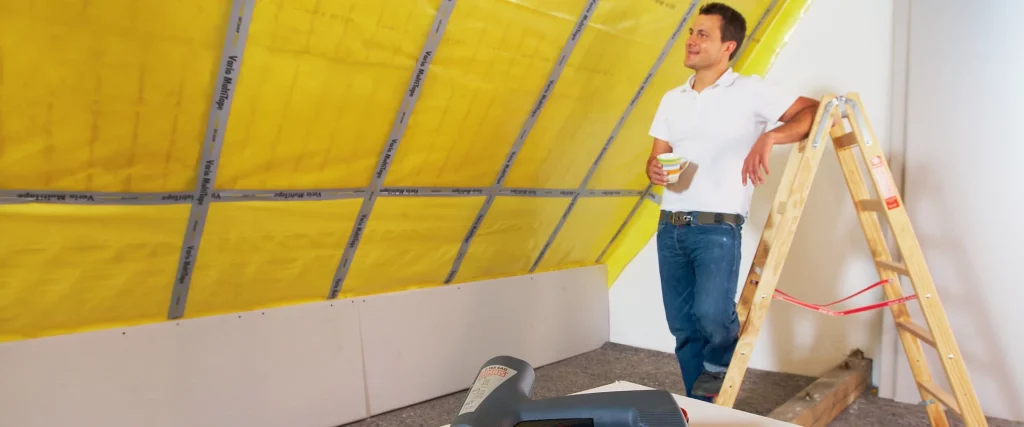
Reduce energy costs and insulate your attic yourself!
As energy costs continue to rise rapidly, good insulation is becoming increasingly important. Since a huge amount of heat can be lost through the roof, it’s worth getting to work here first. We’ll show you how you can quickly and easily insulate your pitched roof yourself with rafter insulation.
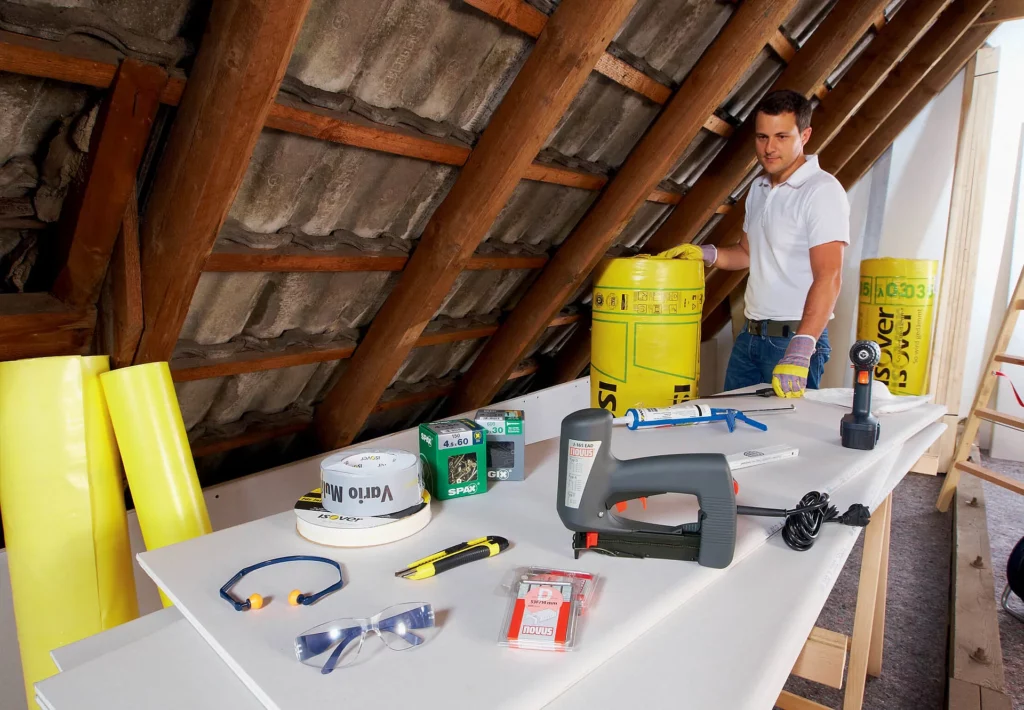
This is what you’ll need:
The quantities given are for a roof area of 100 m2 (2 x 12.5 m x 4 m)
- vapour barrier membrane (125 m2)
- double-sided, airtight adhesive tape (2 rolls)
- mineral wool (for 100 m2)
- sharp insulation knife
- sealing and sound insulation tape (2 rolls)
- sealant adhesive (6 pieces)
- plasterboards (2000 x 600 x 12.5 mm)
- cordless screwdriver
- screws (approx. 300 pcs)
- electric tacker (e.g. NOVUS J-165 EAD)
- staples (flat wire staples, 6 mm)
And here’s how it’s done:
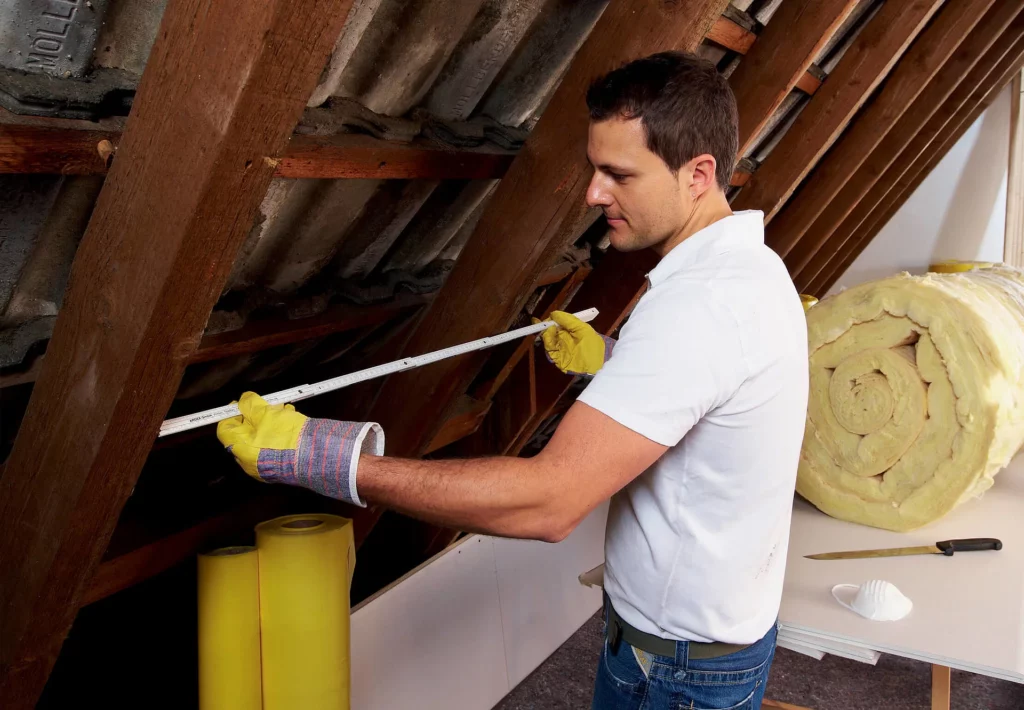
Measure the rafters.
First, measure up the rafters. Then select the insulation material. Insulation rolls are made of mineral wool, wood fibres and other insulating materials; in our example, we’ve used mineral wool.
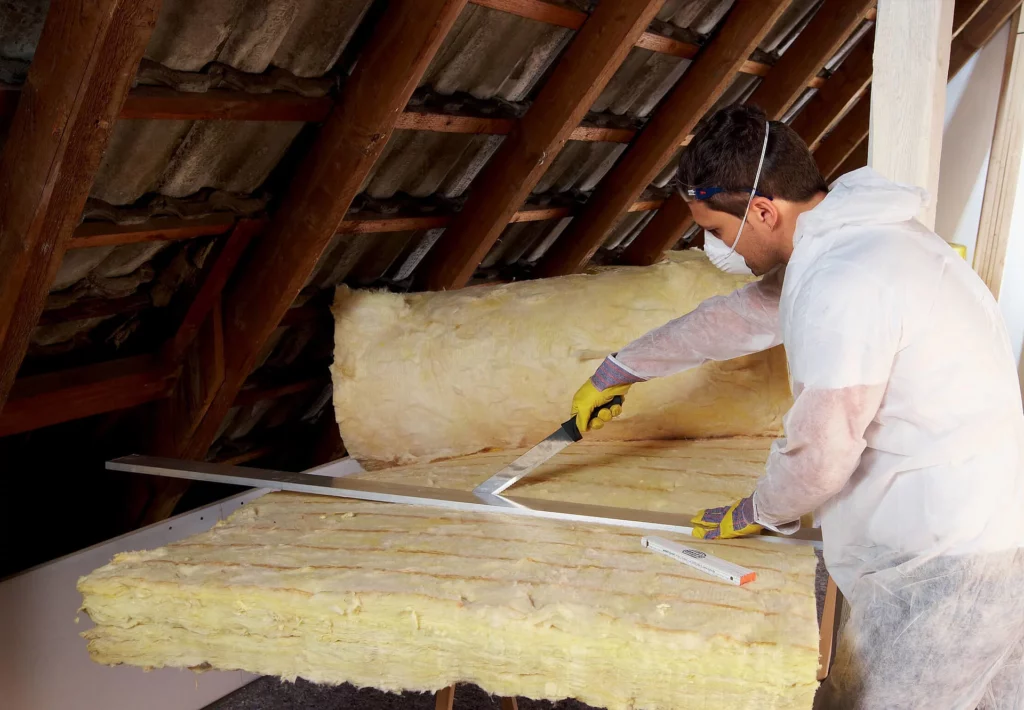
Cut the insulation material to size.
Cutting the mineral wool to size. Cut the mineral wool to size with the insulation knife. The best way to do this is to place the mineral wool under a narrow piece of wood, as this will produce an excellent cutting edge. To make sure that the felt stays firmly in place, it should be cut to a width that is about 1 to 2 cm wider than the clear distance between the rafters.
Tip: Before starting work, find out about your local regulations and any grants or subsidies there might be.
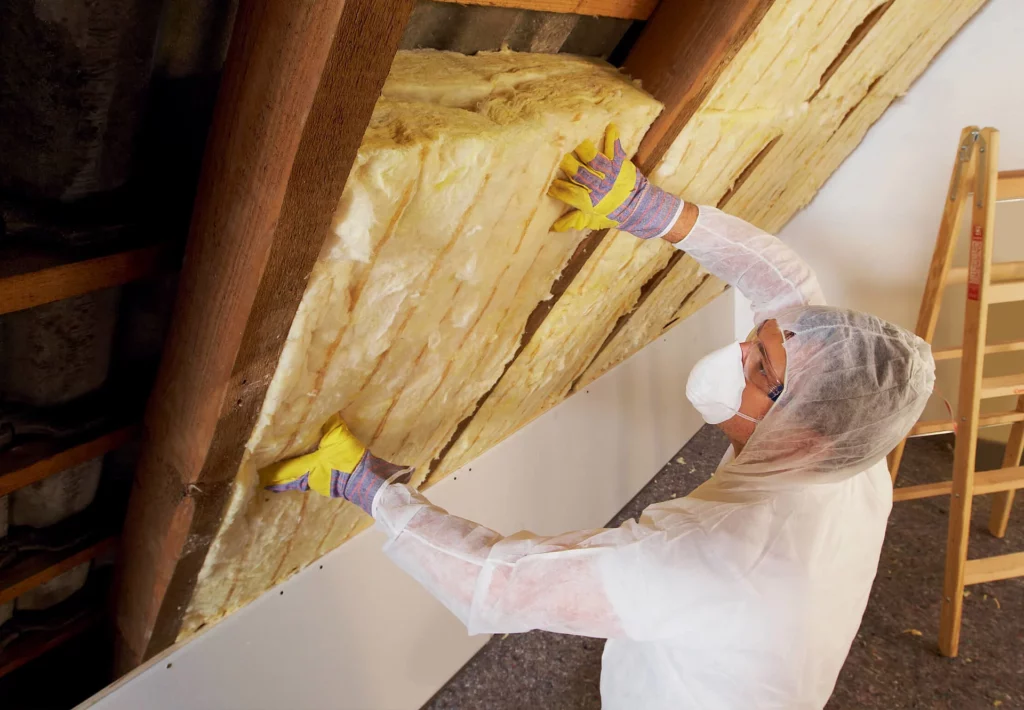
Wedge the insulation material between the rafters.
Now wedge the mineral wool between the rafters with the application of a little pressure. Make sure that the panels connect to form a tight joint.
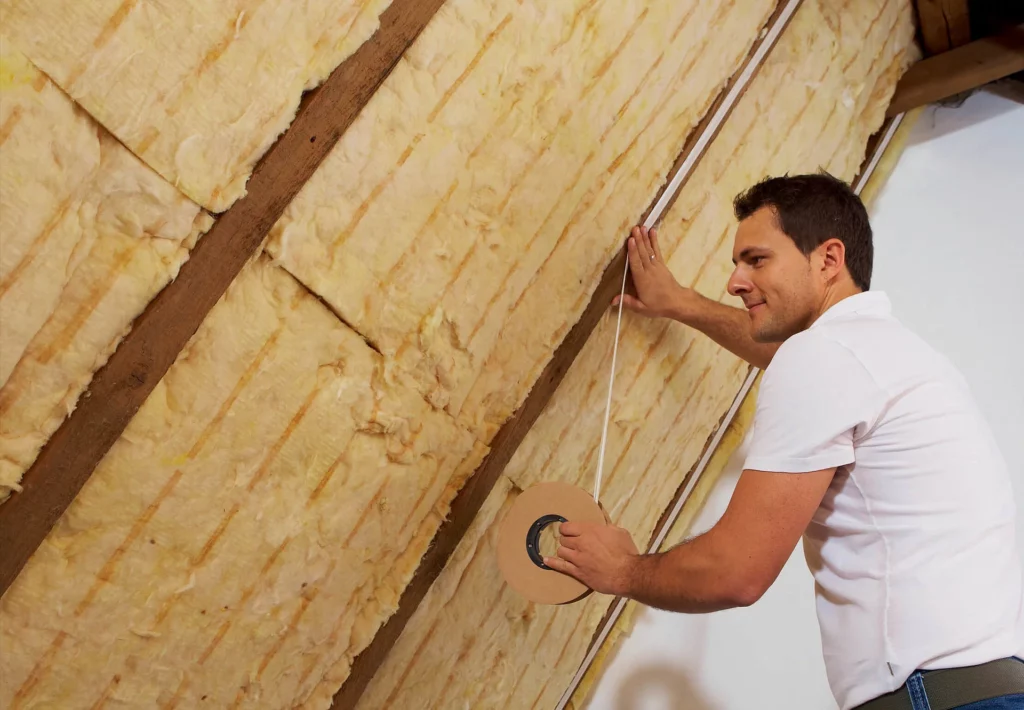
Attach the sealing tape to the rafters.
Now attach the sealing tape to the rafters. This stops the membrane tearing when you tack it later, and prevents moisture transfer at the stapling points.
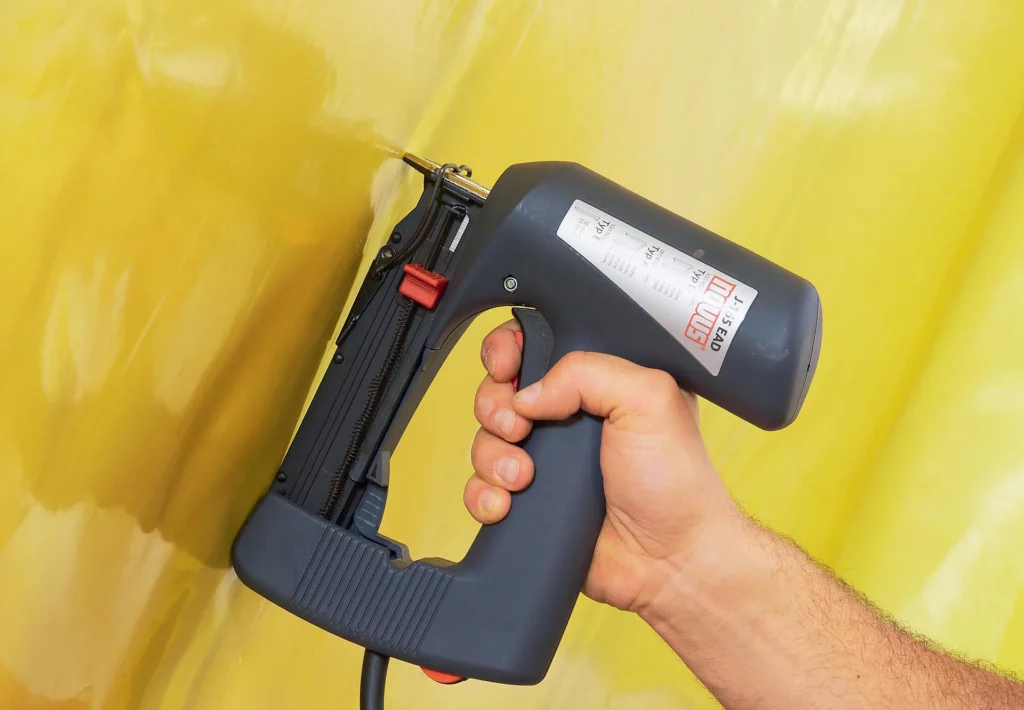
A NOVUS electric tacker makes light work of stapling the vapour barrier in place.
Now place the vapour barrier, which you have previously cut to size, over the insulation and fix it to the rafters using a tacker.
Please note: Always wear safety glasses and hearing protection when working with a NOVUS electric tacker.
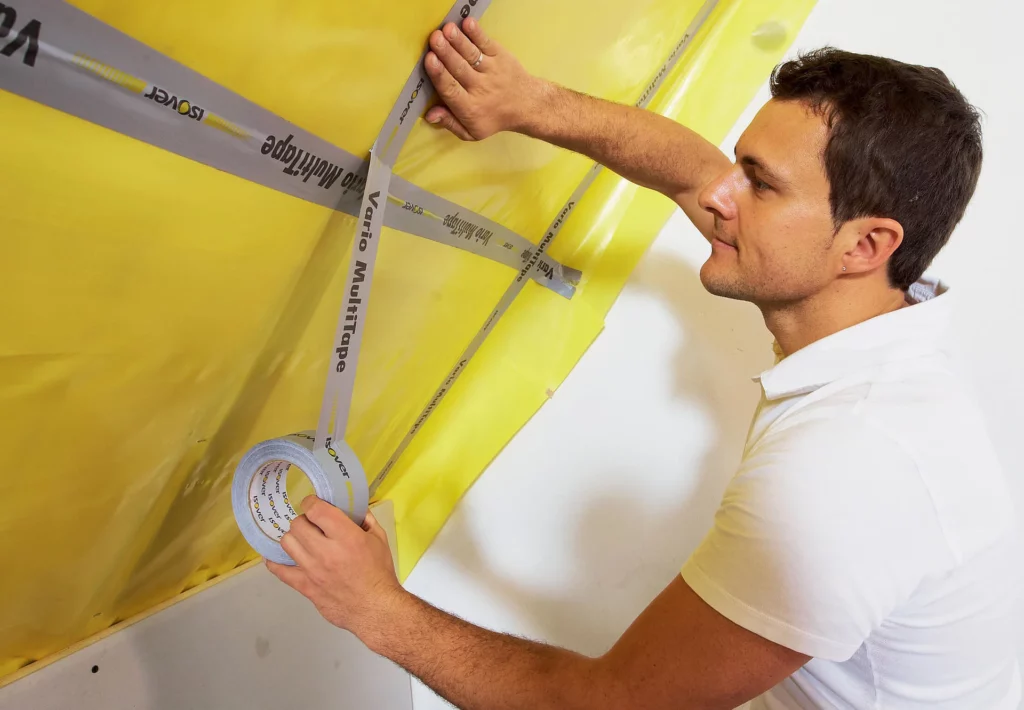
Seal the cut edges with adhesive tape to make them airtight.
Next, seal the overlaps in the vapour barrier with double-sided adhesive tape so that they are airtight.
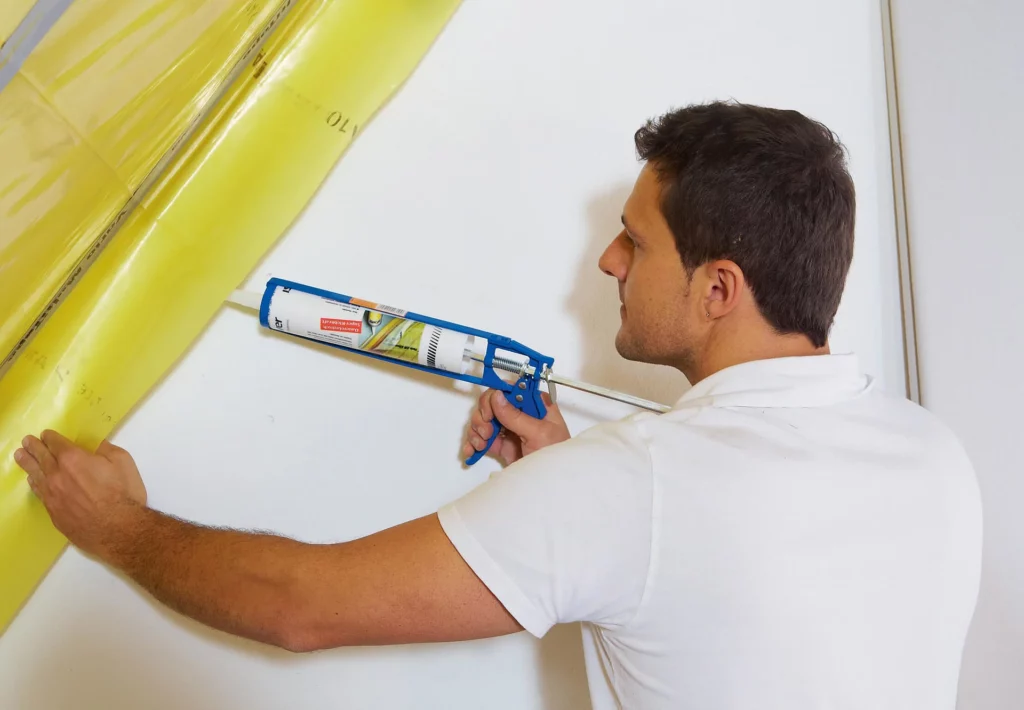
Glue the vapour barrier to the adjacent walls.
Now apply a layer of sealant adhesive approx. 8 mm thick to the wall, then glue the vapour barrier to it. Surplus membrane can be cut away.
Fasten a plasterboard substructure in place for cladding later.
We recommend using plasterboard as the substructure for later cladding. Mount the substructure for the plasterboard transversely to the rafters and fastened with screws.
