Creating custom decorations for your home is easy
Many of us are finding everyday life terribly dull at the moment: every day is the same under the coronavirus lockdown. Are you longing for a change of scenery? Why not embellish your walls, windows or furniture with custom decals to give your home, where you spend so much time, a fresh and personal touch? We have compiled a list of tips on designing and making your very own wall decals. Our top tip: Use a rotary trimmer to guarantee clean and pleasing results.
Modern designs for your walls
When choosing your motif, the options are endless and you can freely decide which design best suits you and your home: it could be minimalist or extravagant; anything is possible – from simple text to complex patterns. Minimalist designs consisting of multiple geometric elements in coordinated colours and arrangements are currently in vogue. Elements and colours can be combined in a million ways, meaning you can create whatever you like and the result is sure to be original.
You can find further ideas for designs online, e.g. on Pinterest.
Create your wall decal in just four steps
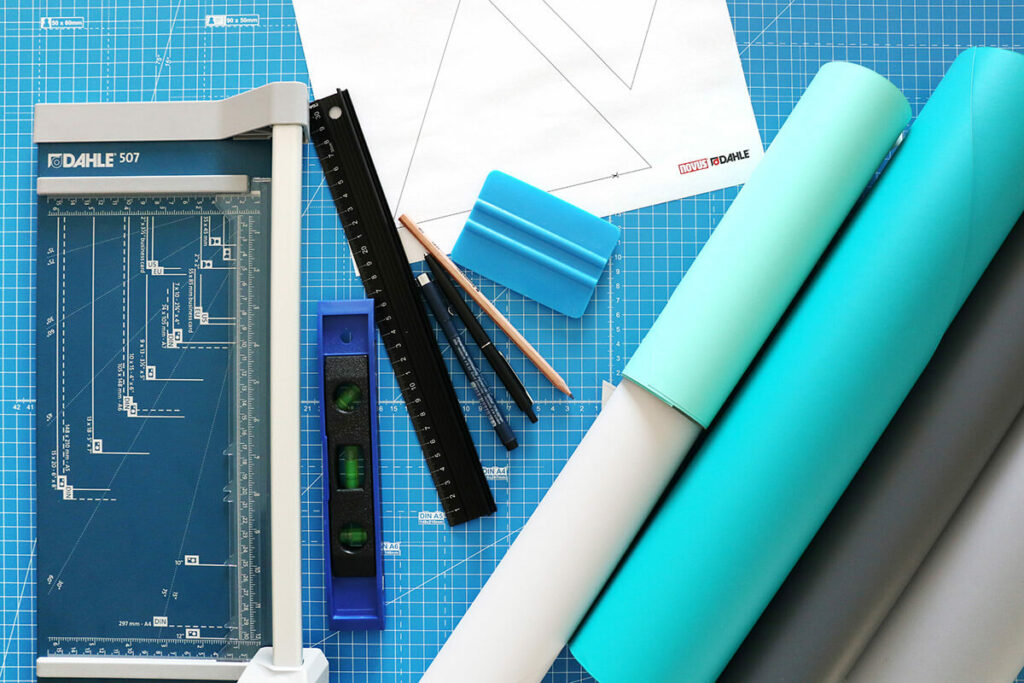
You will need:
- A suitable template (download here)
- Pen and rulerr
- Self-adhesive film
- Rotary trimmer
- Scraper for smoothing
- Spirit level
- A piece of clean cloth or felt (where necessary)
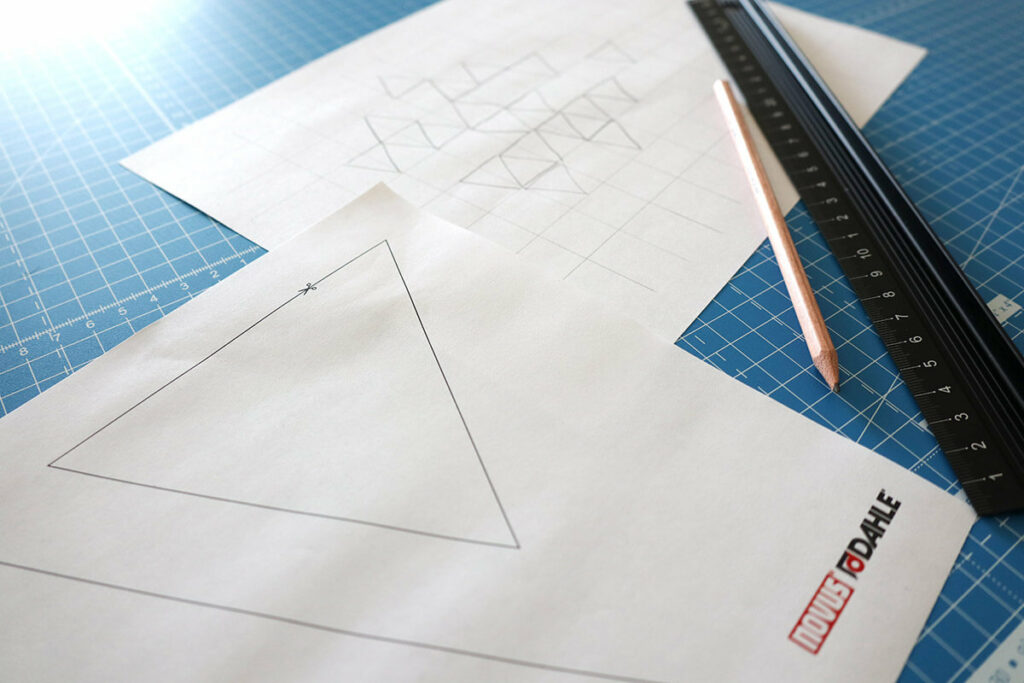
Choose a shape and select a motif
Making the perfect wall decal for your home starts with your personal design: select a motif, e.g. an optical illusion, and draw a sketch. This doesn’t have to be the same size as the finished decal.
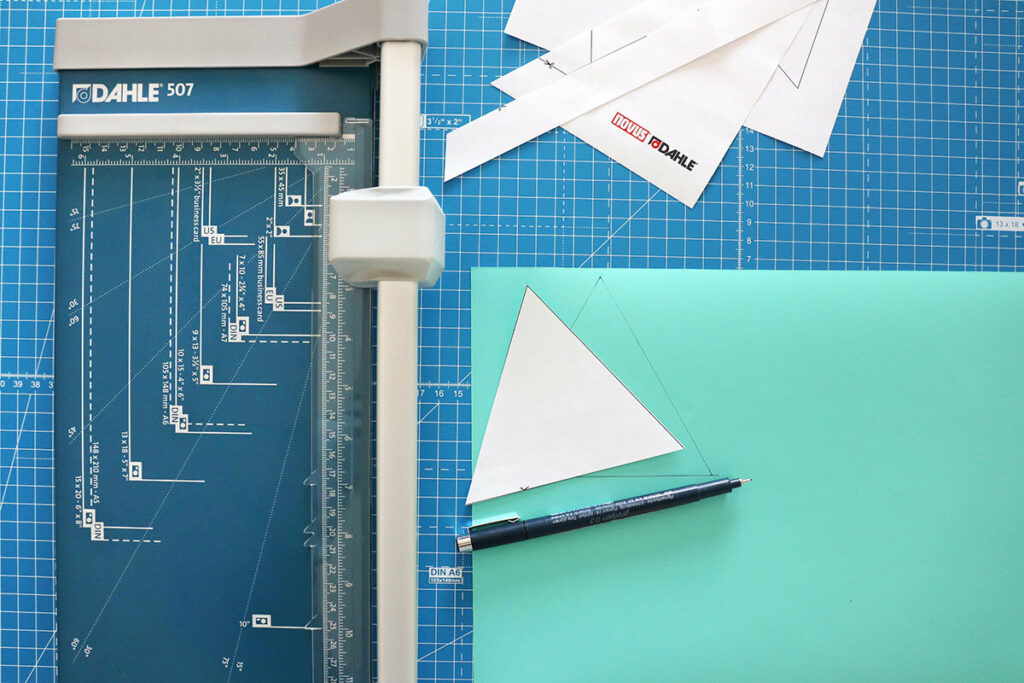
Transfer your design to the film
Now adjust the template to the desired size. To do so, transfer your drawing on to the self-adhesive film. You can use a ruler to manually adjust our template to end up with a shape of the desired size.
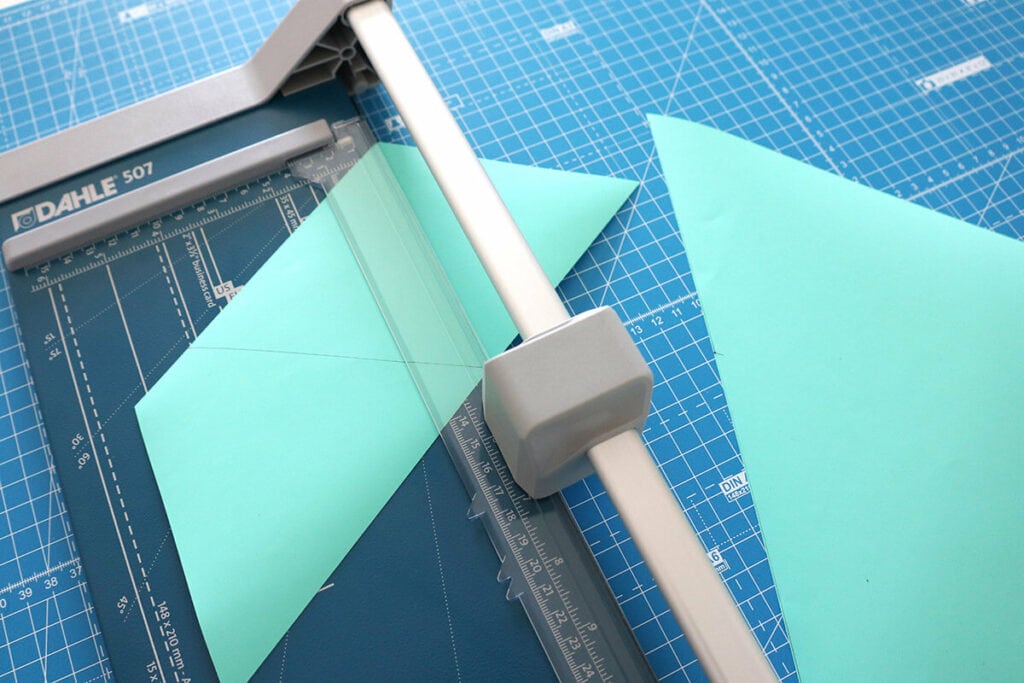
Cut out the elements
Cutting out your wall decals is safe, quick and easy using a rotary trimmer, such as Dahle 507 (for DIN A4 formats) or Dahle 508 (for DIN A3 formats). The practical and precise format lines on the cutting board help you to make accurate cuts. The results are guaranteed to be straight cuts with clean edges. It is much easier than cutting out the individual elements using scissors or a cutter knife.
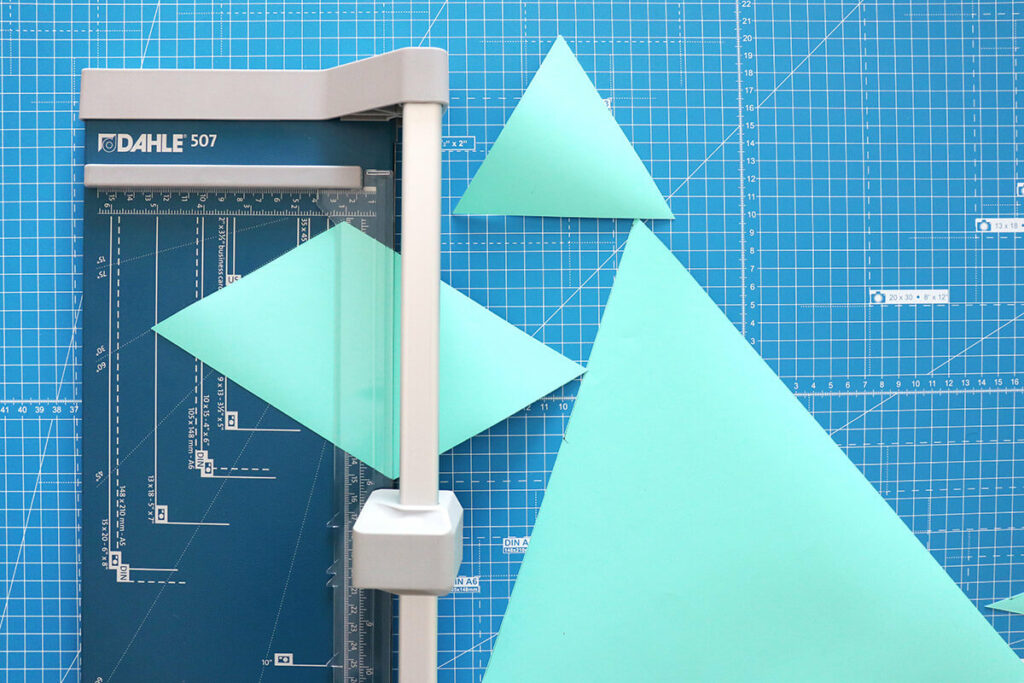
Cutting with a rotary trimmer couldn’t be easier: the blade guard ensures maximum safety, even for novice crafters. A Creative Set is also available for Dahle 507/508 rotary trimmers and can be used to create more unusual edges. The set can be used to make, for instance, zig-zag, perforated and deckle cuts.
Arrange the elements and stick them in place
Once you have cut out all the elements of your wall decal using the rotary trimmer, you can fix your artwork to the wall. Attach the elements to a clean and dry surface.
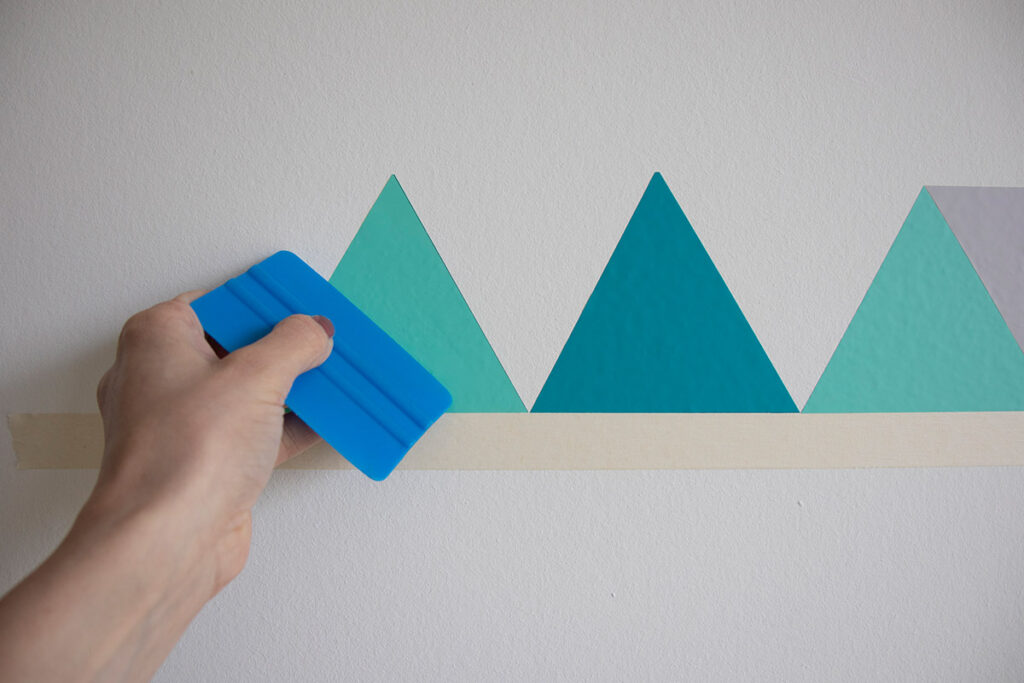
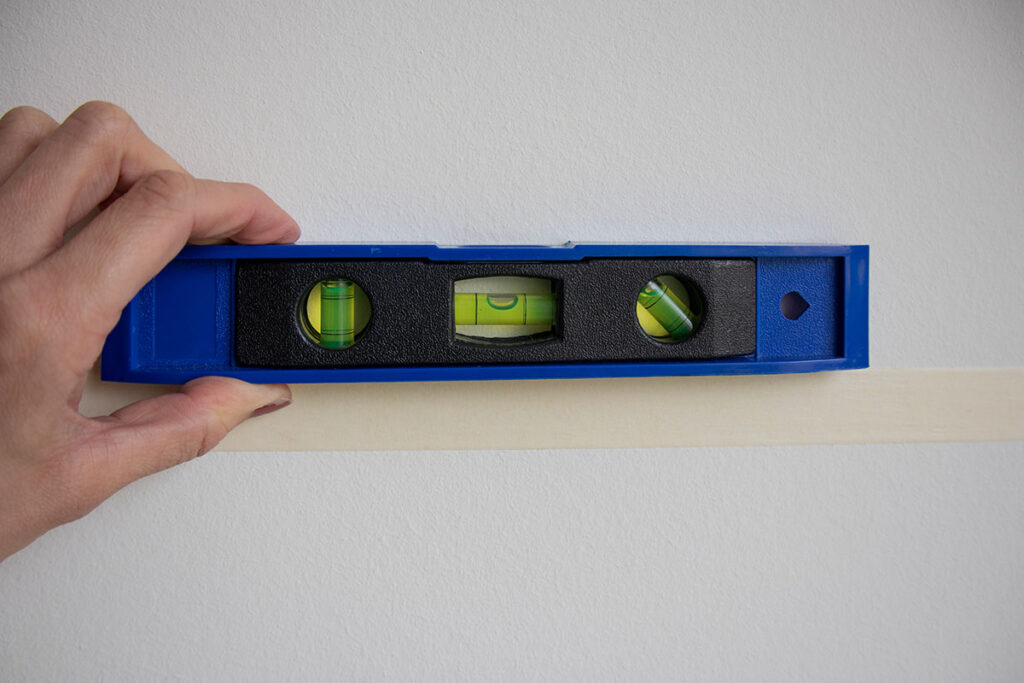
Align the individual elements precisely using a spirit level. Remove the backing film, stick the decal on the wall and smooth it down firmly using a scraper to get rid of any bubbles or wrinkles. Your decal is finished!
Tip: You can make your own scraper very easily. Wrap a piece of clean fabric, or better yet, felt, tightly around the spine of a book and use the spine as a scraper.
