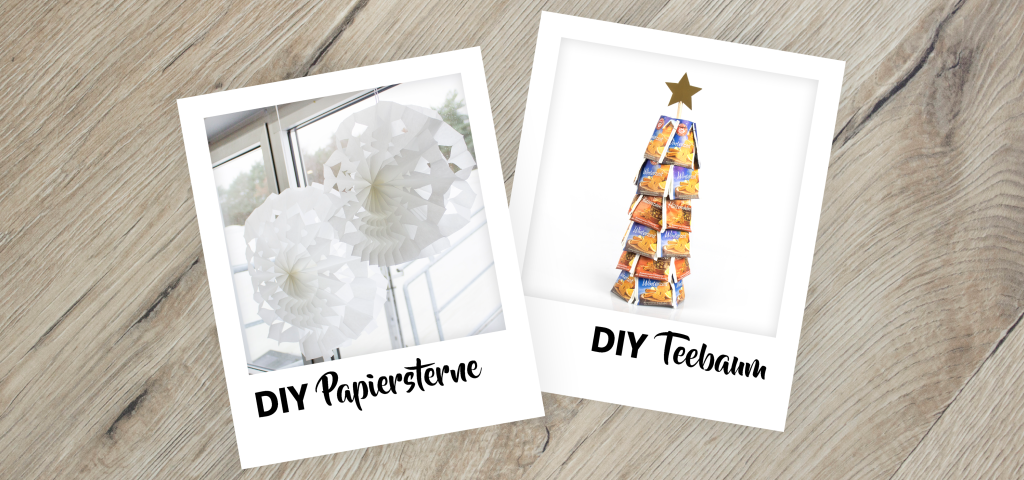
It’s snowing! Only two weeks to go till Christmas and your living room still looks exactly the same as it does for the rest of the year? We’ll show you how to make your own quick and simple yet beautiful decoration. So you can start looking forward to the festive season! Are you still looking for a small gift or “extra something” for your uncle, cousin or godmother? If so, we have a great DIY tip for you for a last-minute Christmas gift: Our tea tree doesn’t just look good, it’s also really useful!
Here are the instructions:

Make your own DIY paper star
You don’t need much to make this:
- 10 paper bags
- Glue stick
- Scissors
- Hole punch
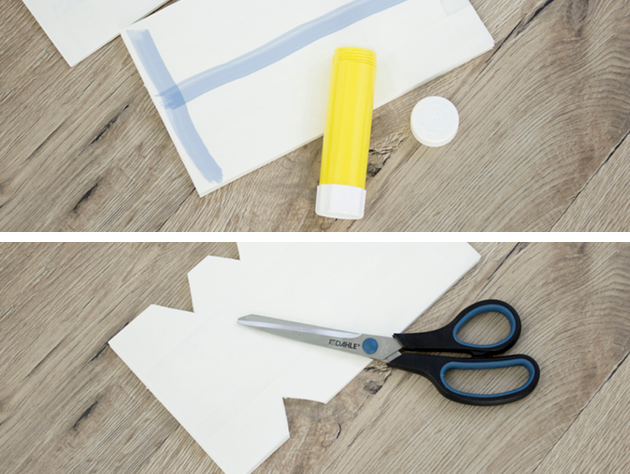
Stick the paper bags one on top of another by using the glue stick to draw a T on each bag. Join the long side to the closed side of the paper bag. Then cut circles and triangles into the sides of the stack. There are no rules here – just cut how you want. Leave the glue to dry for a while and then fold out the bags on the connecting sides. Finished! To hang up the paper star, punch a hole in one of the paper bags and thread a piece of string through the hole.
Tip: If you want to make various sizes of paper star, you can cut the bags down on the open side.

Make your own DIY tea tree
For our last-minute Christmas gift, you will need:
- Paper cups
- Tea bags (packaged in paper sachets)
- Stapler or tacker
- Decorations as required

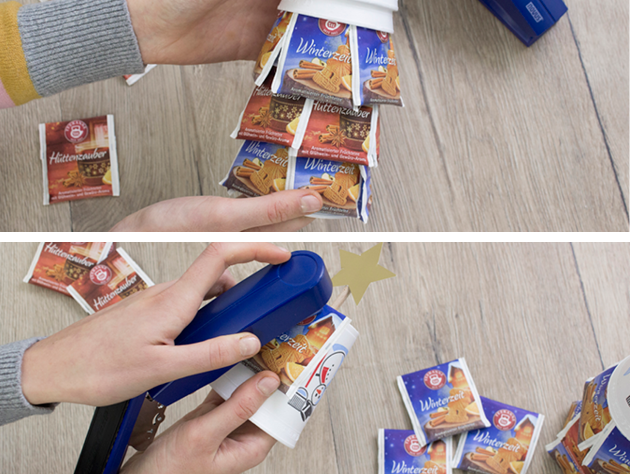
Staple (or tack) four tea bags around each cup. For the top cup, you will need to attach two rows of tea bags so that the cup is completely covered in tea bags. For the bottom cup, it will be enough to attach tea bags around the bottom (where the cups will be showing when all cups are stapled on top of one another). You can also decorate the top cup, for example by attaching a star to the middle. Then stack the cups inside one another and you will have a great DIY Christmas gift, from which the receiver can “pick” his tea during the cold winter months.
