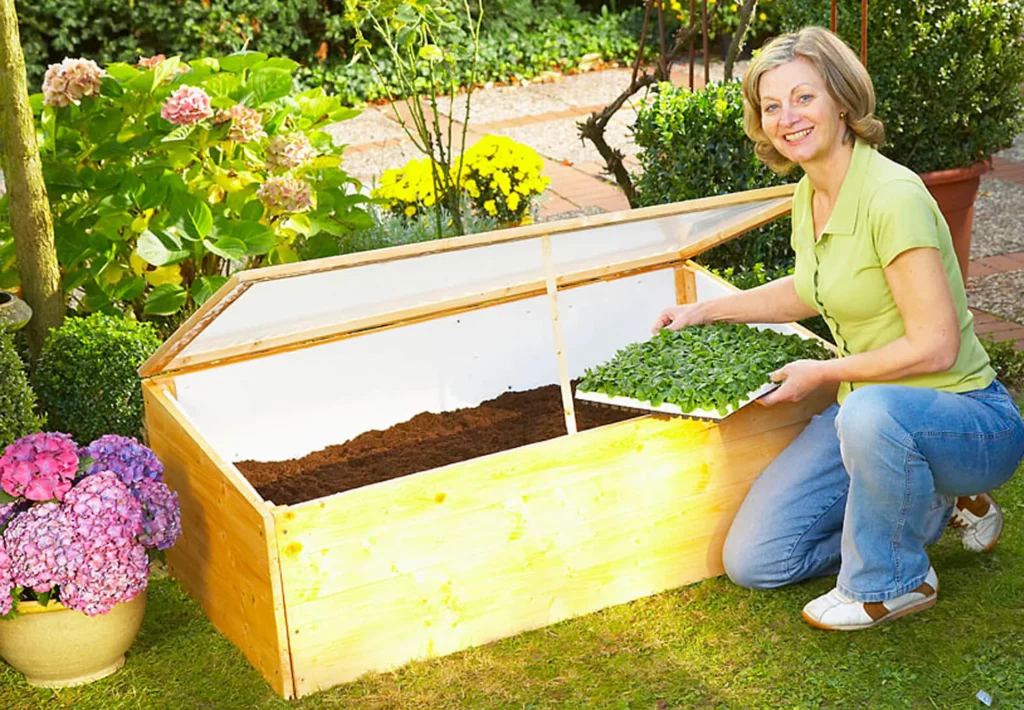
Step-by-step building instructions
At one time, every vegetable garden had a cold frame, but now people seem to have forgotten about them – and wrongly so. What started the gardening season much earlier in your grandfather’s time still works perfectly today. With a cold frame in the vegetable patch, you can protect salads, herbs and vegetables from night frost from as early as March. We’ll show you step by step in our instructions how you can save money by building your own cold frame.
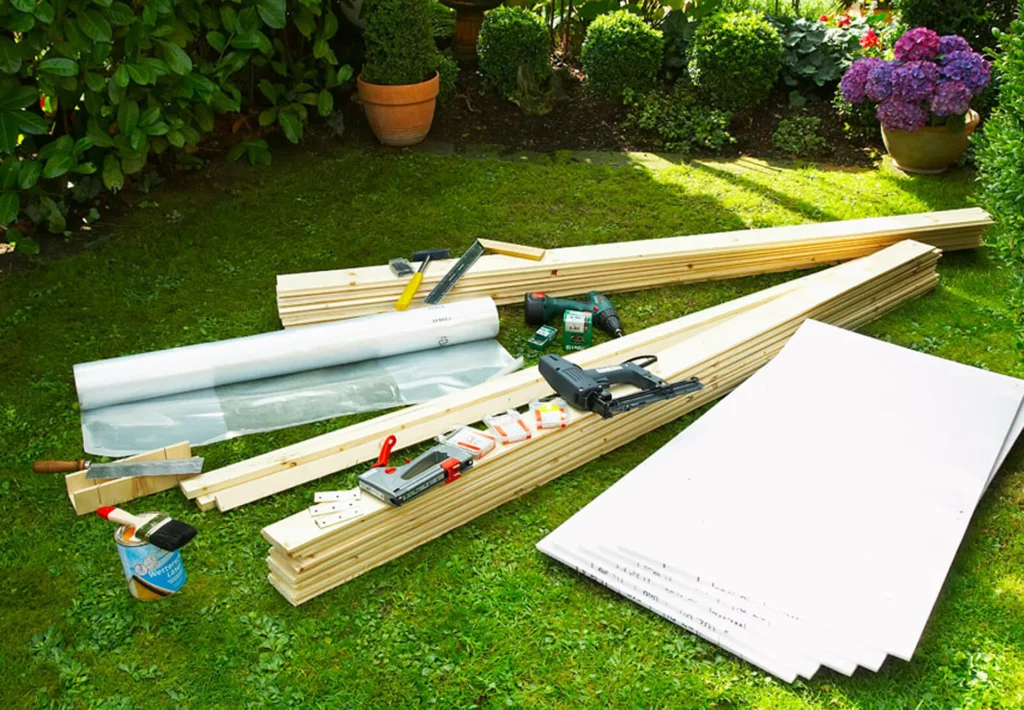
This is what you’ll need:
- wooden battens, pressure treated or coated with non-toxic varnish after assembly
- polystyrene for insulation
- translucent sheeting
- hinges
- tools (electric drill, hand saw, cordless screwdriver)
- screws
- tacker, e.g. Novus J-29
- staples (flat wire for sheeting and polystyrene)
The measurements:
Rear wall 40 cm high, front wall 30 cm;
length and width depending on the bed size: e.g. 100 x 150 cm.
The location:
Choose a sunny, south-facing spot.
Building instructions: Cold frame made of wood
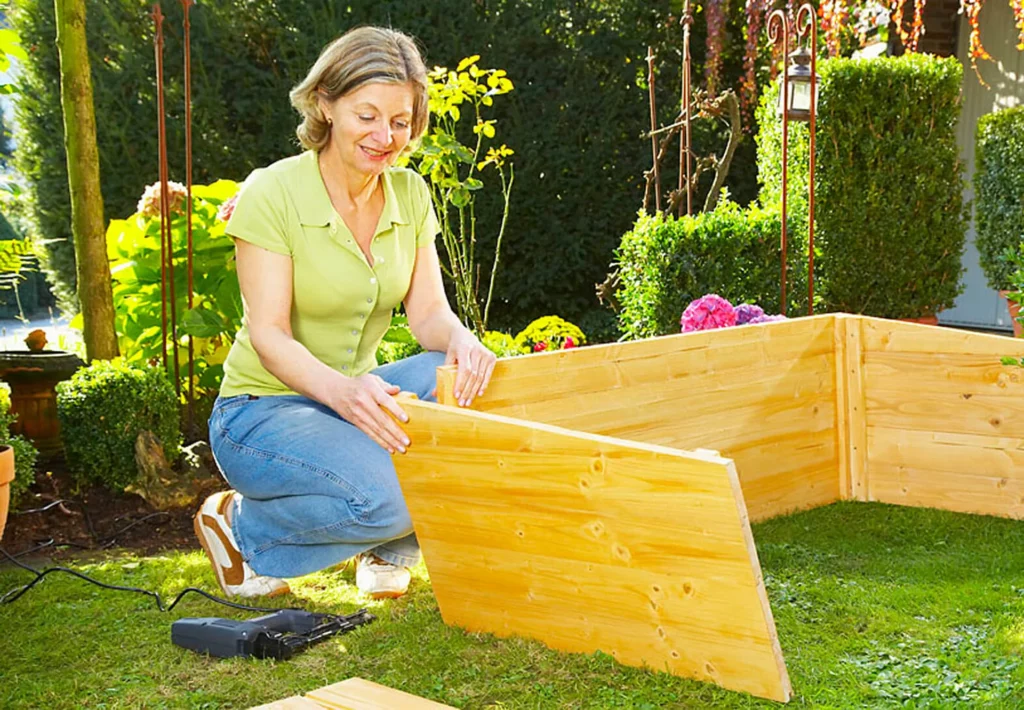
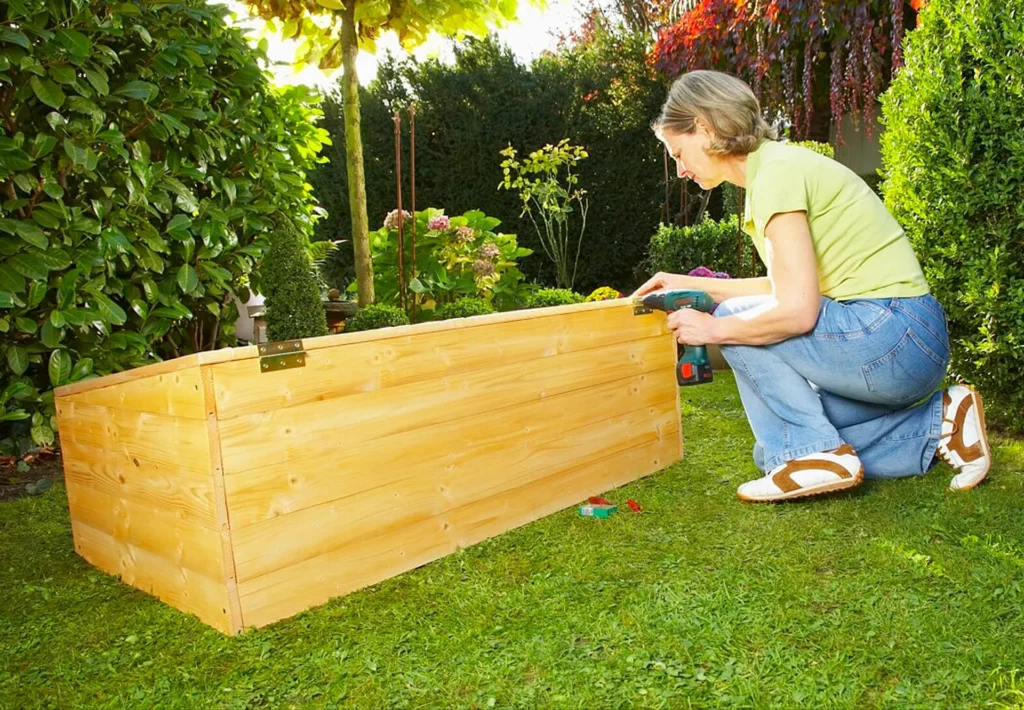
Build a box without a bottom.
Build a wooden box without a bottom. To make the job easier, you can tack the battens together before screwing them.
Building a roof for the cold frame
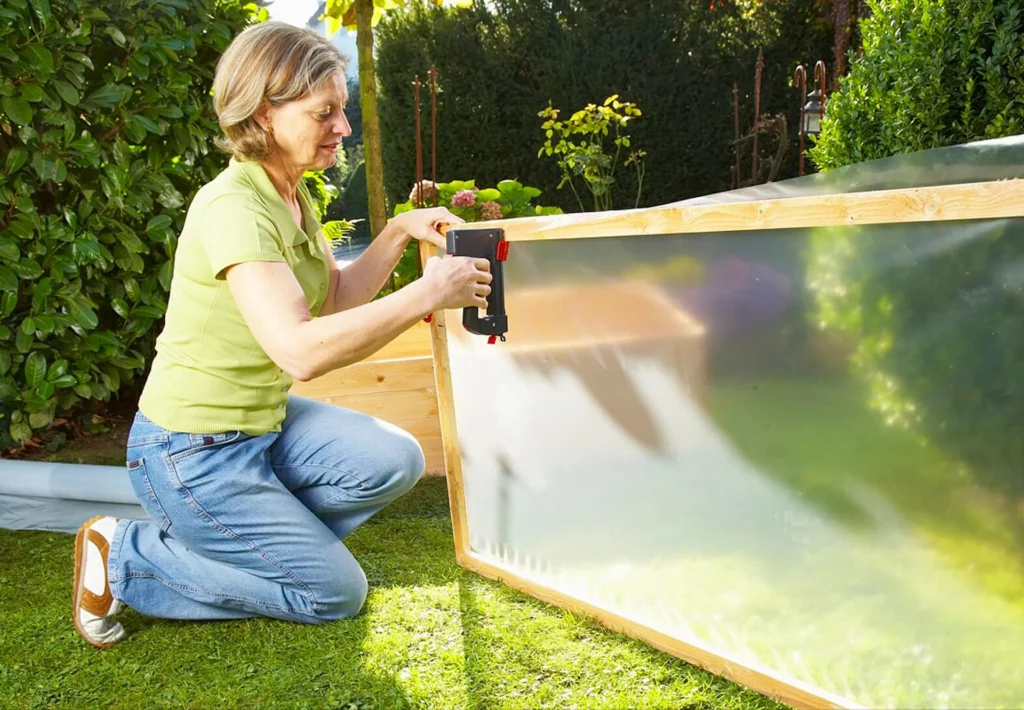
Tack the sheeting to the frame
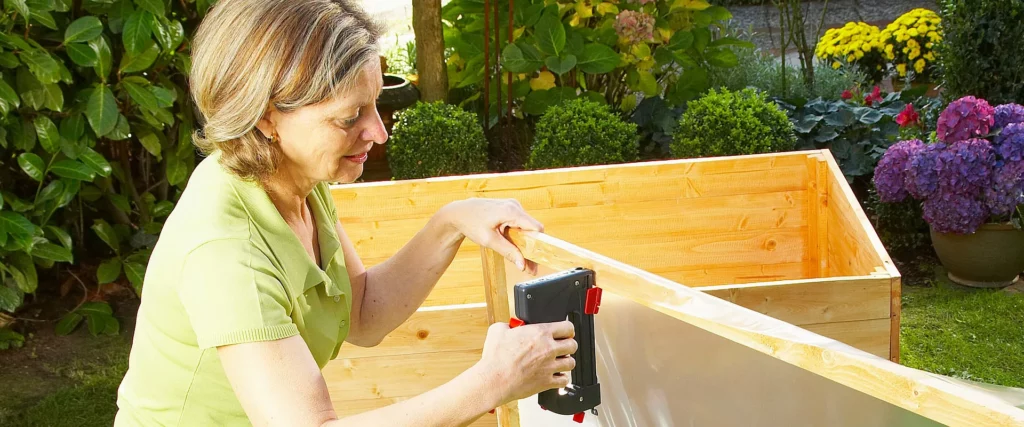
For the roof, build a frame, and fasten the sheeting to it with a Novus tacker.
Fasten the frame to the box
You need to be able to open the roof or cover for planting and ventilation. Therefore, attach the frame only on one long side with two or three hinges. You can loosely attach a leftover piece of batten to the side of the frame so that the frame can be propped open.
Insulate the cold frame on the inside with polystyrene
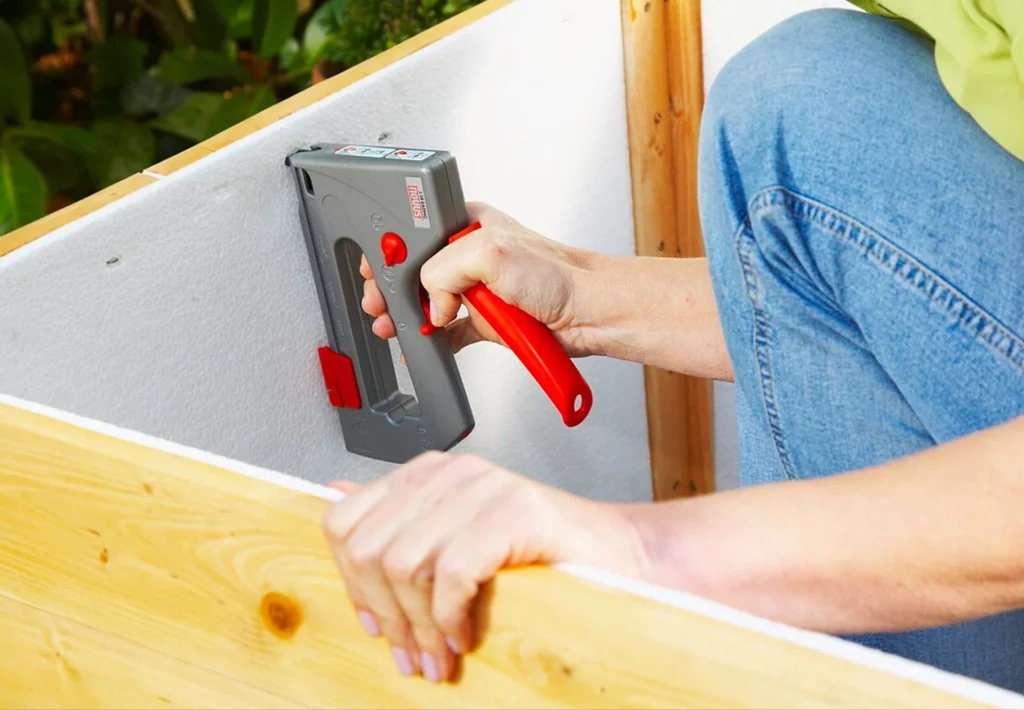
Insulating the cold frame: insulation is what matters
Line the inside with polystyrene for insulation. To do this, staple the polystyrene panels in place with flat wire staples (the length of the staples depends on the thickness of the polystyrene panels; the ratio should be 1:3).
A special tip for your cold frame:
Tip: Use horse manure as a “heater”
Horse manure makes an excellent environmentally friendly and inexpensive “heater” for your cold frame. Use horse manure for the lowest layer and cover it with a thick layer of potting soil. Leave the bed to rest for about a week, until the ammonia fumes have dispersed before you start sowing. The manure’s decomposition produces temperatures of up to 30 degrees in the cold frame – so don’t forget to aerate with this organic “underfloor heating”.
You can start the gardening season as early as January with wild garlic and spinach – with more vitamin-rich vegetables to follow as spring progresses.
