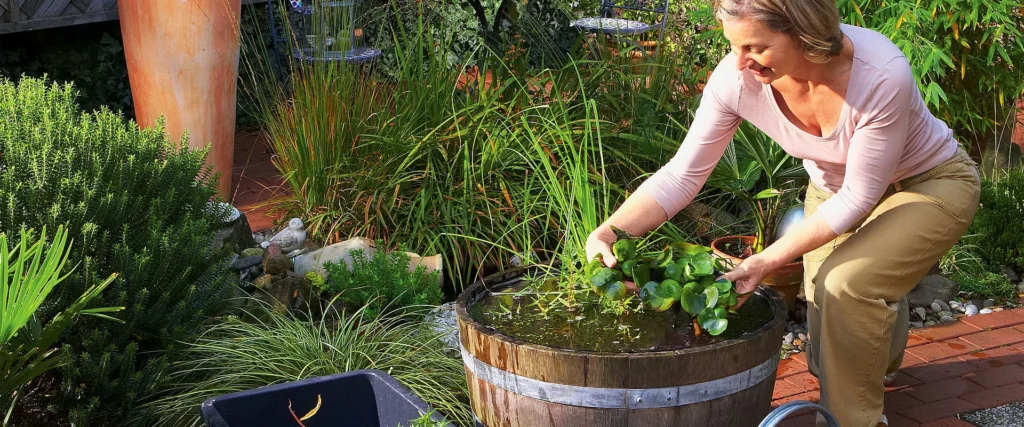
As soon as the weather warms up we’re itching to get outside. Patios, balconies and gardens all need sprucing up, ready for hot summer days and warm evenings. The main things to make it cosy outdoors are flowers and comfortable garden furniture. It’s even better outside if we can grab ourselves a little bit of that beach or lakeside feeling with a home-made mini biotope right on our doorstep – how about a mini-pond in a wooden barrel filled with water? In this article we have gathered together all the important information so you can create your own mini-pond in a wooden barrel.
The benefits of a mini-pond in a wooden barrel for your balcony
If you have a small garden or a balcony you don’t have to go without a balcony pond or biotope. A mini-pond combines the benefits of a large garden pond and what’s more, it doesn’t take long to set up. The small pond can even be planted up and become a wonderful eyecatcher in your garden landscape, with an impressive calming effect.
However, there are also a couple of things you will need to bear in mind. In contrast to a large garden pond, a mini-pond in a wooden barrel is usually a body of standing water. There is pretty much no oxygen exchange so mini-ponds are not really suitable for fish. To keep the water clear and prevent the formation of algae, there should be as few nutrients as possible but lots of oxygen in the mini-pond. Since leaves and other organic material contain nutrients, it is recommended to clean the water regularly. Simply remove leaves and other dirt with a ladle or small scoop net. You could also install a small water pump or fountain to enrich the water with oxygen.
Finding the right container for your mini-pond
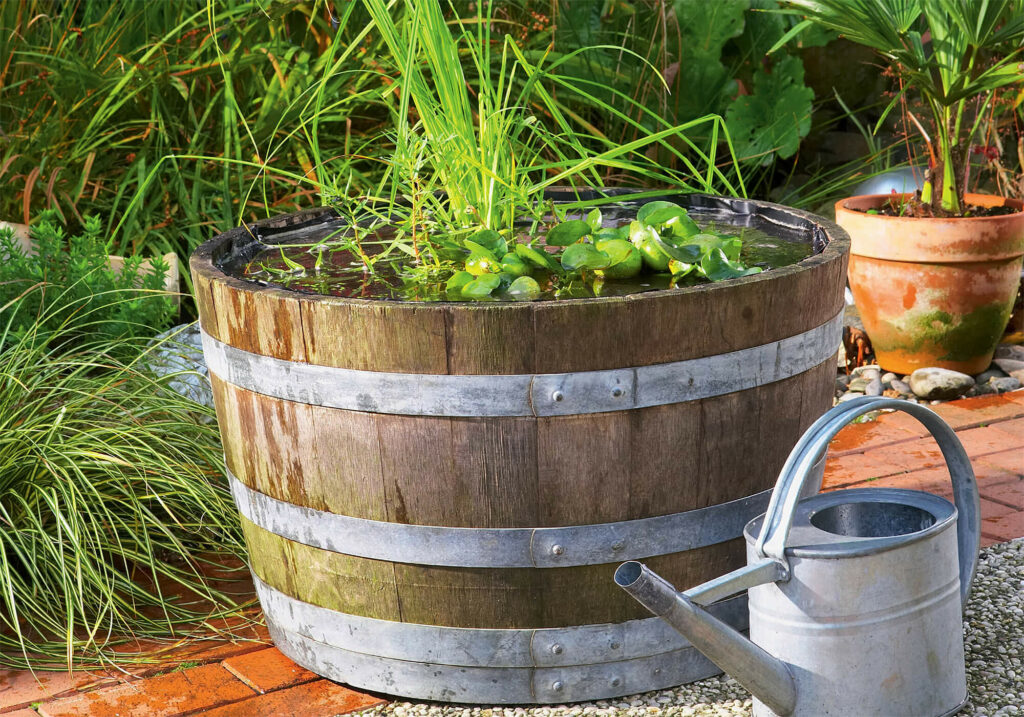
The container that you use to set up a mini-pond should be watertight and of the right size. Wooden tubs are suitable containers for your mini-pond due to their size and shape and can easily be bought from a DIY store. You could also create your pond in a glazed ceramic pot, half wine barrel, old zinc tub or even a disused feeding trough. The important thing to remember is that the container must be at least 10 cm tall and have more surface area than depth.
You absolutely must bear in mind that a large wine barrel or other large container filled with water can soon weigh up to 160 kg. If you want to stand your mini-pond in a wine barrel on your balcony you should first check whether the balcony is designed to take that sort of weight. Even non-watertight containers are suitable for setting up a mini-pond. You can make them watertight by lining them beforehand with the aid of a tacker and pond liner.
Here’s a round-up of the most popular containers for DIY mini-ponds:
- Wooden barrel
- Large plant tub
- Zinc tub – wine barrel
- Glazed ceramic pot
- Feeding trough
- Large plant baskets
The right location for your mini-pond in a wooden barrel
Before you can start setting up your mini-pond, you need to look for a suitable location for it. Somewhere in the partial shade where plants will have enough sunlight to grow but also get enough protection is perfect. A place in the shade will also ensure that the water temperature stays cooler and the growth of algae will be prevented.
However, a spot underneath a deciduous tree is not suitable because falling leaves might land in the pond water and affect the water quality. Bird droppings can also quickly spoil the water in a mini-pond. If you cannot find a shady spot you can add water lilies to your pond. Their large leaves will lie on the surface of the water and provide additional shade as well as looking nice.
Choosing the right plants for your mini-pond
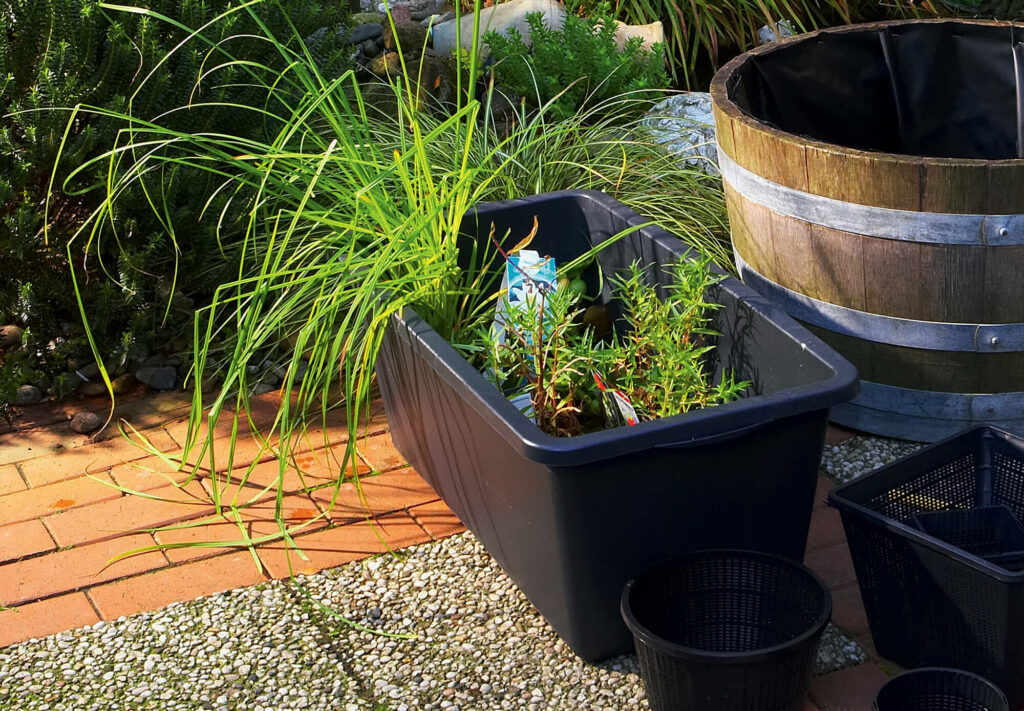
When choosing plants you should select types that will not spread rampantly but will suit the location and water depth of your pond. A combination of floating leaf plants, marsh and upright plants will create a balanced look. Make sure that you combine water plants well with different functions. Plants such as chickweed or water violets produce oxygen so they take care of good water quality. In order to avoid excess nutrients, hungry plants such as water lettuce or duckweed are also perfect. You can get advice about the roles of the plants from your garden centre or DIY store.
Setting up your mini-pond
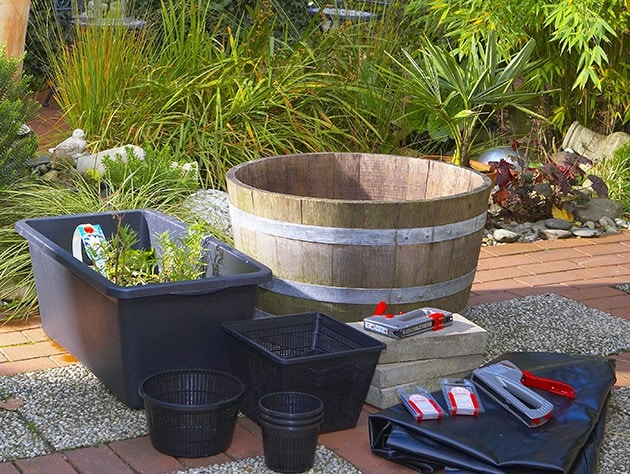
What you will need for the mini-pond
- Pond lining (3-5 mm thick) to line your container if it is not watertight
- Hand tacker for fastening, tacker, e.g. Novus J-17 or Novus J-29
- Scissors
- Low-nutrient, unfertilised soil or special pond soil
- Gravel
- Plant baskets
- Stones to vary planting heights of water plants in containers
- Pebbles to decorate
- Watering can
- Wooden tub
- Staples (flat wire 10-14 mm)
How to construct the mini-pond:
Prepare the container for your mini-pond.
Before you get started, place the container in the right spot. You will struggle to move the pond to another place once it has been filled with water. Line the wooden tub with pond liner and weigh it down with a few stones. Now carefully smooth the liner upwards on the inside of the tub and staple it, for example using a Novus hand tacker . The liner should not be stretched too much to avoid tearing it. Then trim any liner that is hanging over the edge.
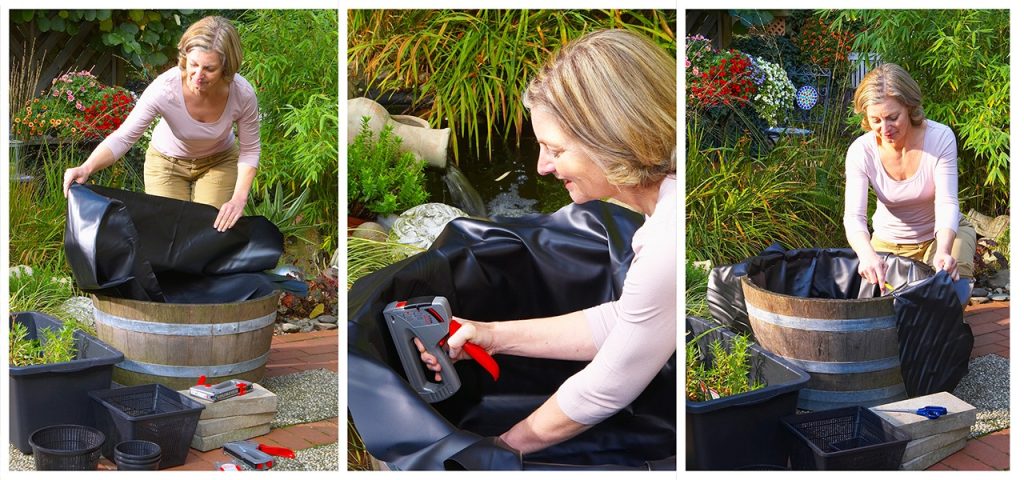
Fill the mini-pond with water and plants.
Cover the bottom of the pond with 10-14 cm of pond soil. We recommend covering the soil with a thin layer of gravel to prevent it from swirling around when filling with water. Then lay your stones in a terrace formation on the base of the tub. Before you do this, you should check the water depth hat your plants prefer so you can place them in the right place on the stone terrace to create the look you want. There is also a step-by step video guide guide on the Novus Fastening YouTube channel. Now you can fill the pond with water. Ideally you will use rainwater that you have collected. But you can also fill the pond with tap water. In hard water areas we recommend running the water through a water filter beforehand as lime encourages the growth of algae.
Now sit back, relax and enjoy your own little oasis!
Cleaning and overwintering your mini-pond
To enjoy your pond in the garden or on your balcony for a long time, it is best to clean it regularly. This is particularly important to maintain the biological balance. Clean and care for your mini-pond by snipping off dead or dried out plants. The water must also be freed from leaves, droppings and other foreign material. It is also a good idea to use some of the water every week for watering and then topping up the mini-pond with fresh water.
When winter is approaching, the pond should be prepared for overwintering. In contrast to large garden ponds, mini-ponds can quickly freeze up completely. Then there is a danger that the container and the plants will be damaged. To avoid this, remove water from the pond, leaving just a few centimetres, and put the container in a cool but frost-free place. However, the water plants should still have enough water. Alternatively, they can also be placed in small containers of water. The water should then be changed regularly. As soon as it gets warmer in April or May, the mini-pond can be set up in the garden again.
