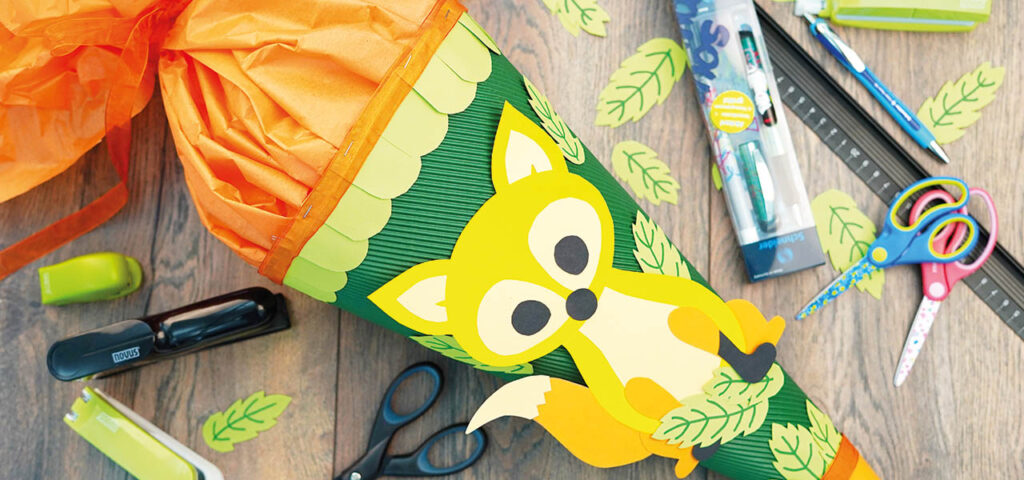
An exciting new chapter of life lies ahead of children on their first day of school. The first school bag, lots of school stationery and of course, in Germany, the Schultüte is an absolute must on the first day. The ‘school cone’ filled by parents, grandparents and other family members is something quite special for the little ones and a wonderful custom to round off their special day.
Of course, you can buy Schultüten, also known as sweet cones, in specialist shops and supermarkets these days but home-made ones are still the best. There is a huge variety of options for Schultüten and you can use a whole range of materials like felt, coloured paper, cardboard and lots of other things to make the cone. We have prepared some crafting instructions for you to make your own Schultüte for your child’s first day at school. This guide is for a Schultüte with a neutral fox design that is suitable for boys or girls and you can of course easily vary the choice of colours. You can either prepare the DIY Schultüte as a surprise or make it together with a child who is about to start school.
How to make an easy Schultüte yourself:
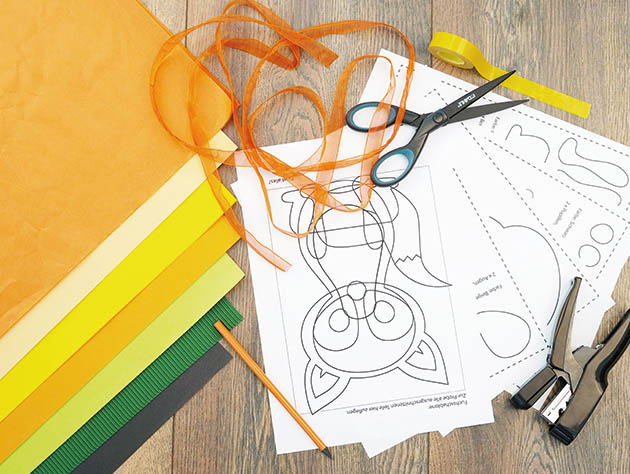
What you will need for the Schultüte
- Sheets of card 70 x 100 cm – 1 each in light green, yellow, orange, black and beige
- Green corrugated cardboard
- Orange crêpe paper
- Scissors e.g. from Dahle
- Green pen or pencil
- A piece of cord or thick thread, 55 cm long
- Liquid craft glue
- Double-sided adhesive tape
- Flat clinch stapling pliers e.g. from Novus
- Our craft template
Step-by-step guide for the Schultüte
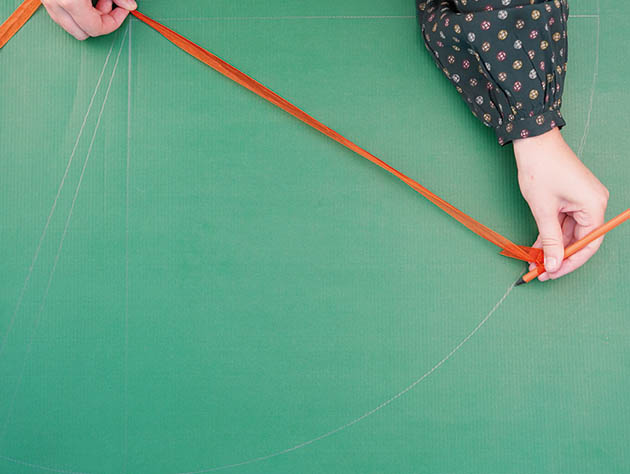
Step 1: First, you will need the green corrugated cardboard, the pen or pencil and the cord. Tie the cord to the top of the pen or pencil, then you can use it like a compass to draw a quarter of a circle on the card. This will form the basis for the cone. To do this, hold the loose end of the cord down tightly on one corner of the card. With the pen or pencil in your other hand, now draw an arc on the card. This should be a bit bigger than a quarter of a circle. Now join the two outer points of the arc to your starting point with straight lines using a ruler. This will be your blank cone.
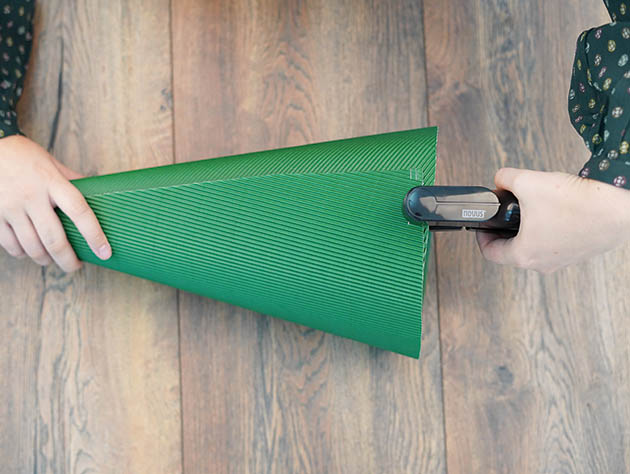
Step 2: Cut the blank cone out along the lines. Spread some liquid glue onto one of the straight edges and allow it to dry slightly. Then roll the cone up and press the edges together firmly. Fasten the upper edge with the flat clinch stapling pliers or a stapler. While the cone dries out you can make a start on the decoration.
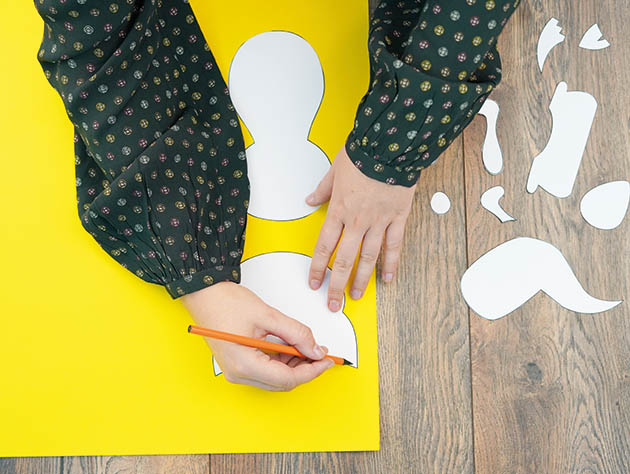
Step 3: Now you can make the fox and the leaves. Use our template which you can print out on A4 paper. Cut the pieces out and use them as templates. The template will also show you exactly how to stick the individual parts of the fox together. To make the leaves look more real draw some veins on them with a green pen or pencil. When all of the parts have been stuck together, allow the fox to dry out.
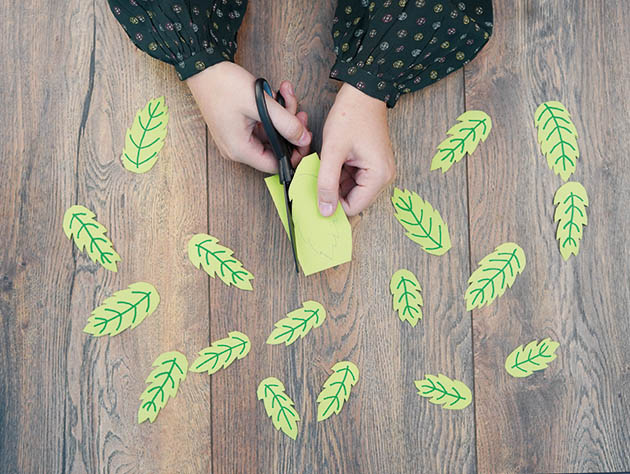
Step 4: In the meantime, to decorate the Schultüte you can cut some emblems out of the green card and fix them to the upper edge of the cone.
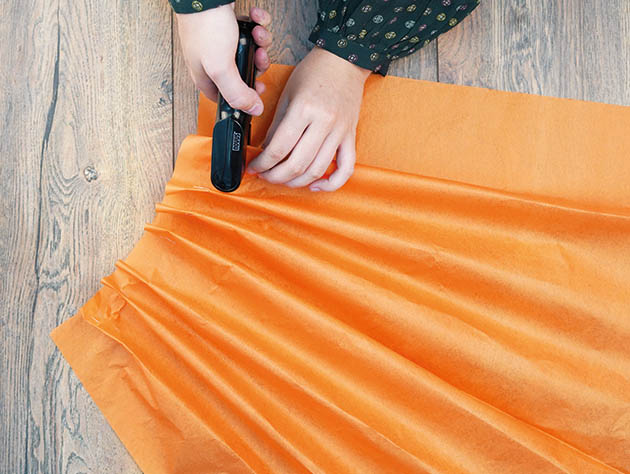
Step 5: You will also need a crêpe paper cuff which will be used later to close the Schultüte. To do this, lay the crêpe paper in wave form at the bottom edge and staple each of the folds together to create a wave look.
Tip: It is really easy to staple the crêpe paper together with flat clinch stapling pliers. The advantage with this method is that you can avoid the crêpe paper losing colour as a result of the glue and you won’t have to wait for it to dry. You can craft quickly using the flat clinch stapling pliers and create a beautiful crêpe paper cuff with almost invisible staples.
To fix the cuff to the Schultüte, stick the double sided adhesive tape to the upper edge inside the cone. Now you can simply stick the cuff on; you can then close it up with some ribbon after filling.
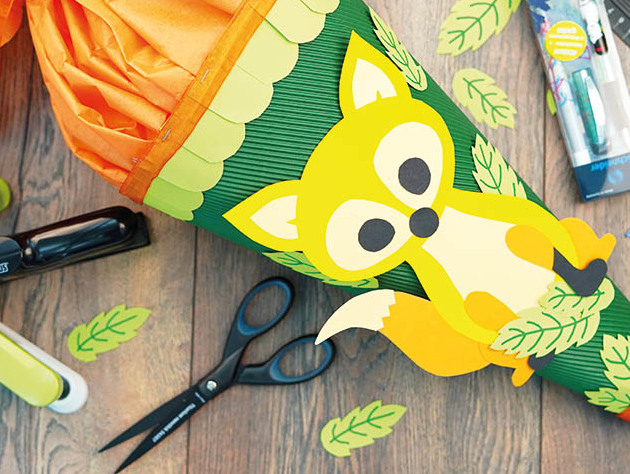
Step 6: Glue the fox and leaves to the front of the Schultüte to finish.
Step 7: The tip of the Schultüte can get bent relatively easily. To avoid this, you could reinforce it with a bit of cardboard in another colour.
Filling the Schultüte – ideas for the school cone
You have finished making the Schultüte. Now the question is, how best to fill it? The Schultüte is big enough to tuck away lots of little treats for starting school. Let your imagination run free. From practical school stationery which children will need in school anyway, to small toys and sweets. We have put together the best ideas for filling the Schultüte.
Stationery for starting school
The Schultüte is often filled with sweets or toys. But bits of stationery such as scissors, mini-staplers, colourful sharpeners, pens and pencils fit in the Schultüte and will motivate your little ones when they first start school. Colourful child-friendly implements such as children’s scissors from Dahle are particularly good and they can use them at school or at home to go wild with their creativity. These are available in lots of different colours and are designed for children’s little hands with ergonomic rubber-lined soft-touch handles.
Ideas for school stationery
- Printed children’s scissors
- Colourful pencil sharpeners
- Mini stapler, perfect for school bags
- Pens
- Fibre-tip pens
- Wooden pencils
- Lead pencils
Fun and games for the Schultüte
School time should also be about fun and games so a Schultüte can also be filled with little toys. It can help children socialise with their new classmates on the first day of school if the gifts are tried out together.
- Skipping rope
- French skipping elastic
- Small ball
- Reading books
- ‘My friends’ book
- Mini board game
- Puzzle book
Snacks and sweets for the Schultüte
A Schultüte should also have a few snacks and sweets in it. It is mostly the mixture that counts. A good combination of sweet treats and healthy snacks is ideal to make little kids happy. To protect children’s teeth from decay, more tooth-friendly sugar-free sweets are best.
- Alphabet biscuits
- Nut mixtures
- Sweets
- Fruit
How to pack the Schultüte
The tip of the cone is the most vulnerable part. So the tip doesn’t get damaged, this part can be stuffed with a bit of fabric, wadding or tissue paper. You could also pack a bag of sweets in a pointed shape or nuts here.
Just like packing a backpack, the heavier gifts are placed towards the bottom of the Schultüte. This makes it easier to carry because the centre of gravity is lower down. So heavier and larger gifts always go lower down. The rest of the space can be used for other little things. If there are still too many gaps you can fill them with paper or newspaper.
You will give so much joy to your little school starter with a homemade Schultüte. And when the cone is filled with lots of lovely little things, it makes starting school even easier!
