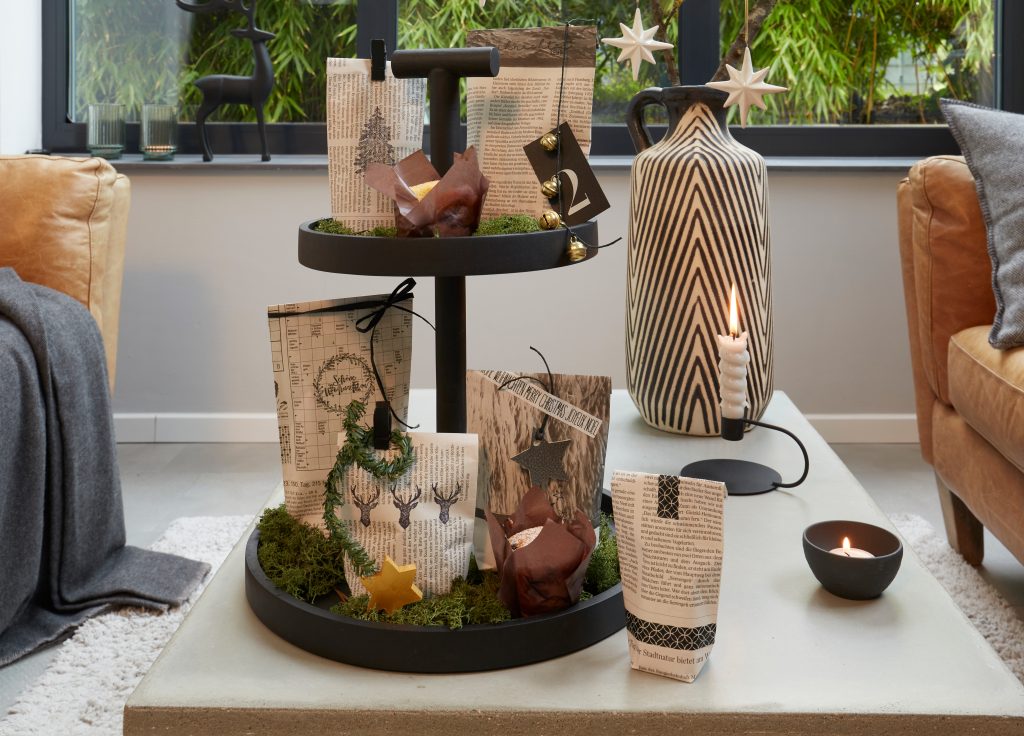
Personalised gift wrap
Whether for Christmas, birthdays or just because: when you want to gift your loved ones something special, it’s not just the present itself that matters – the wrapping is also important. Using gift wrap you designed and crafted yourself will make your present feel even more thoughtful. Why not create your own paper bag to complement your gift?
Read on to find out everything you need to know to make your own gift bags. Whether you want to create a simple pouch or put together something more lavish, we’ll show you how to quickly and easily craft gift bags yourself. Especially at Christmas, hand-made gift bags are a great idea that gift recipients will be sure to love. You can design your own pouches from paper to suit the occasion or season. In our DIY crafting tip we used newspaper for the gift bag, giving some old newsprint a new lease on life. Upcycling that goes further: individually and creatively printed or painted, old newspaper is transformed into a unique gift wrapper with a stylish black and white look for the minimalists among your friends.
Here’s how to quickly and easily make these gift bags yourself.
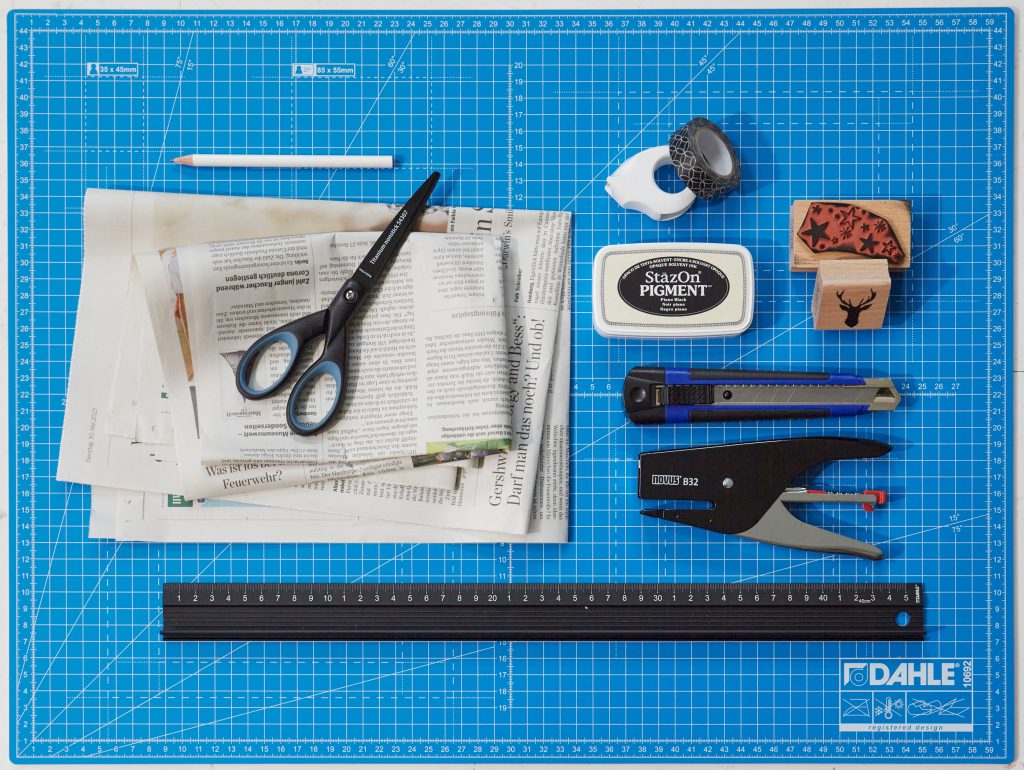
To make a paper bag, you will need:
- A cutting mat to protect your table
- A newspaper
- A pencil
- A cutting ruler and a cutter
- Optionally: scissors
- Transparent adhesive tape
- A rubber stamp and stamping ink
- Stapling pliers/a stapler
- Optionally: washi tape/masking tape
- And of course: your gift!
Instructions:
Cut newspaper to size
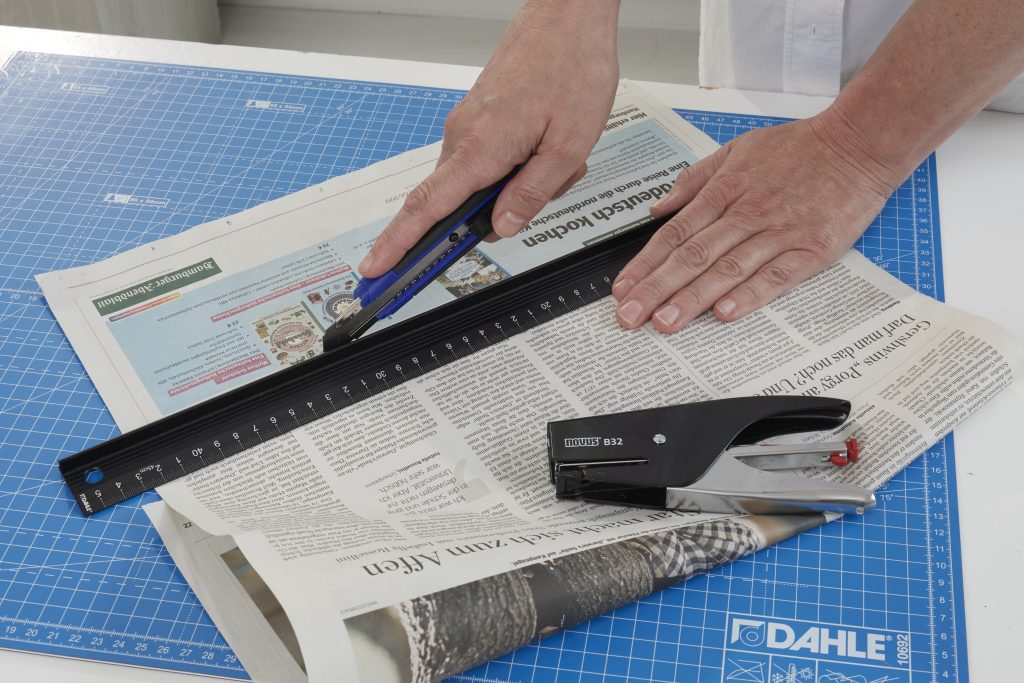
First, cut the required amount of paper from the newspaper. To estimate how much you’ll need, place your gift on the newspaper in such a way that you can cover it with paper from all sides. You should also leave enough space at the top and bottom for the base of the bag and to close it. Then use the pencil and ruler to draw a line around the area you want to cut out. It’s important to remember that your chosen section of newspaper should contain mostly text and no large images or advertisements, as the stamps – or your personalised decorative motif – will be hard to see on the paper bag otherwise.
Precise cut
For an especially precise result, place the paper on the cutting mat, put the cutting ruler on top and use the cutter to slice along the cut line. For your own safety, please make sure that the edge with the high cutting guard is on the line. This prevents injuries to fingers and thumbs. If you’re in a hurry and don’t care quite so much about straight lines, you can of course use the scissors instead.
Fold the paper
Fold the left and right sides of your cut paper in towards the middle so that they overlap slightly. Then fasten the overlapping sides with transparent adhesive tape.
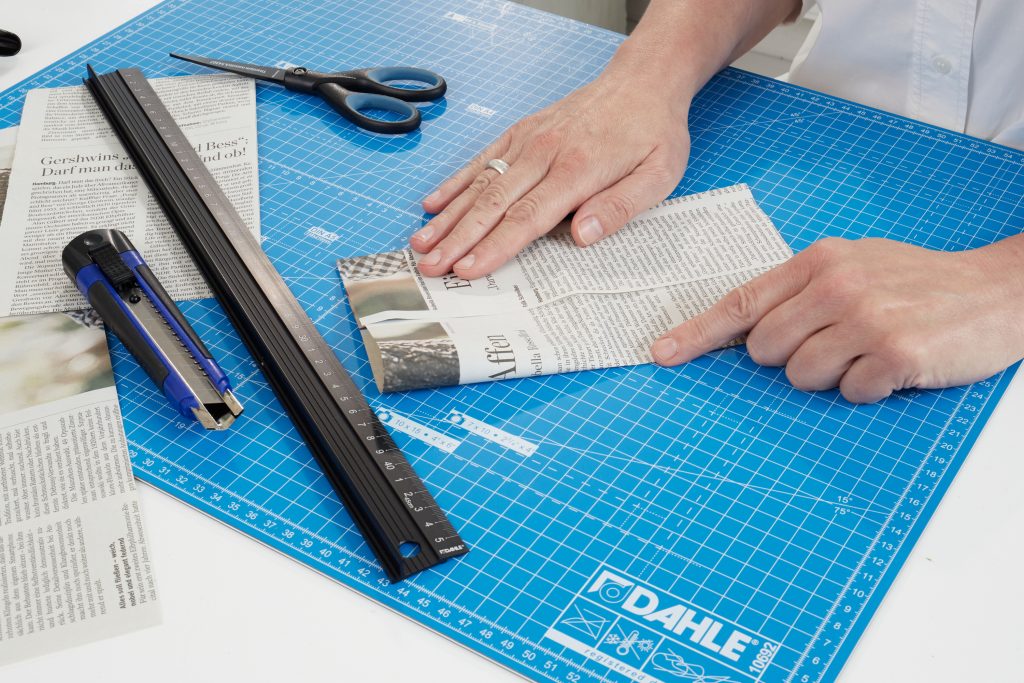
Crease the folded edge
Press down on the creased edges to fold them a little more.
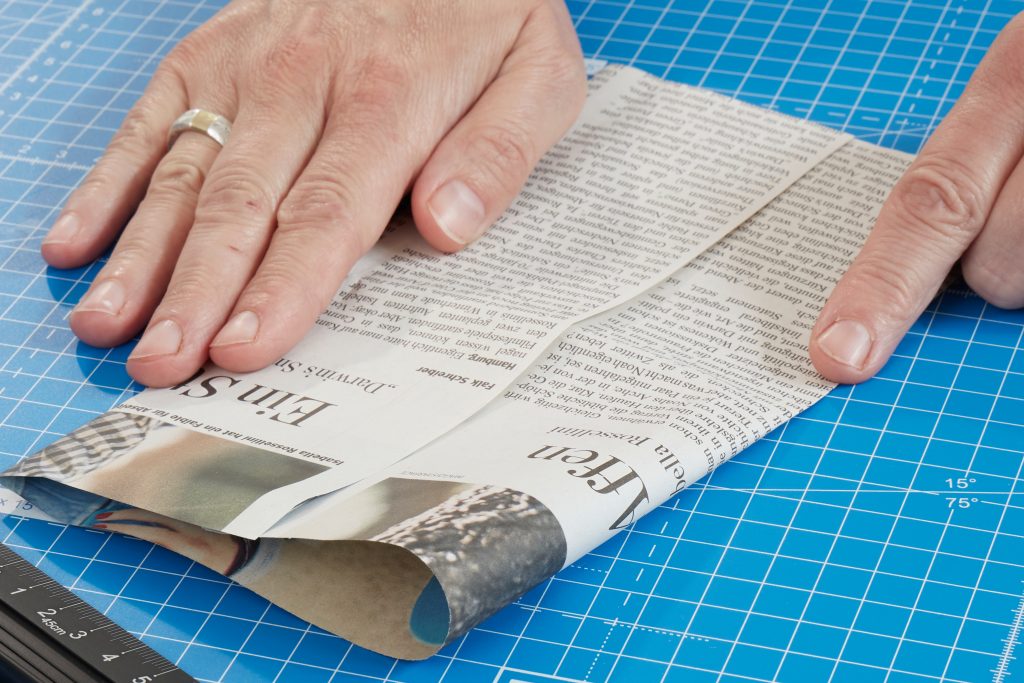
Fold the base
Now we’ll make the base of our newspaper gift bag. Fold up a section of the lower edge as big as you want the base to be (2–3 cm in our example), shape the sides into a triangle and fold them down. Repeat on the other side.
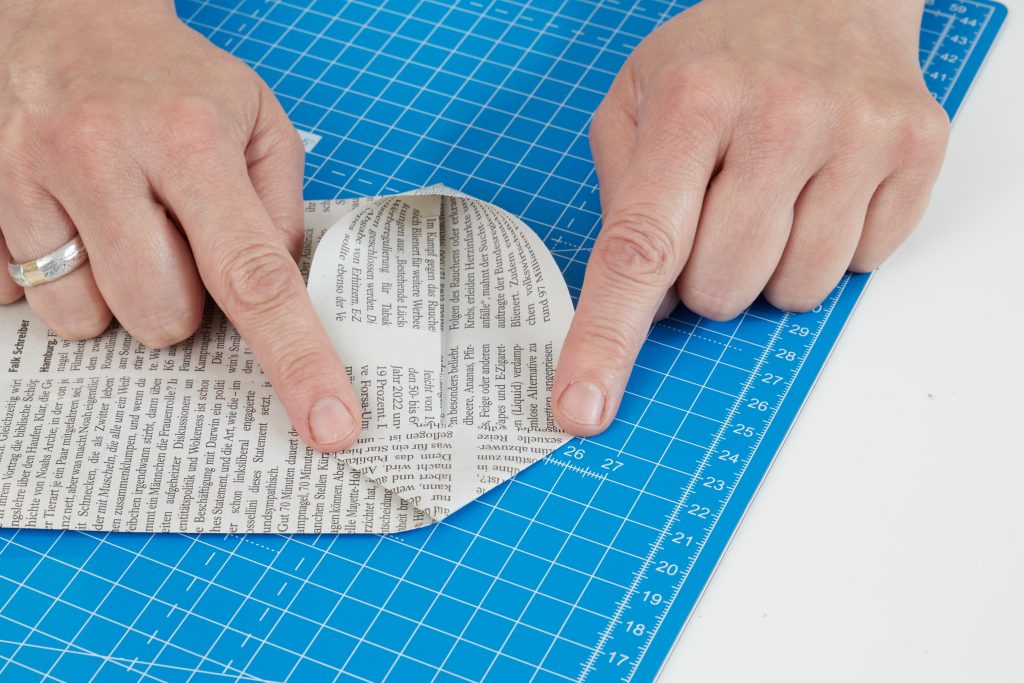
Fasten the base
Now fold the top and bottom section of the base in towards the middle so they overlap. Then stick the base together with transparent adhesive tape.
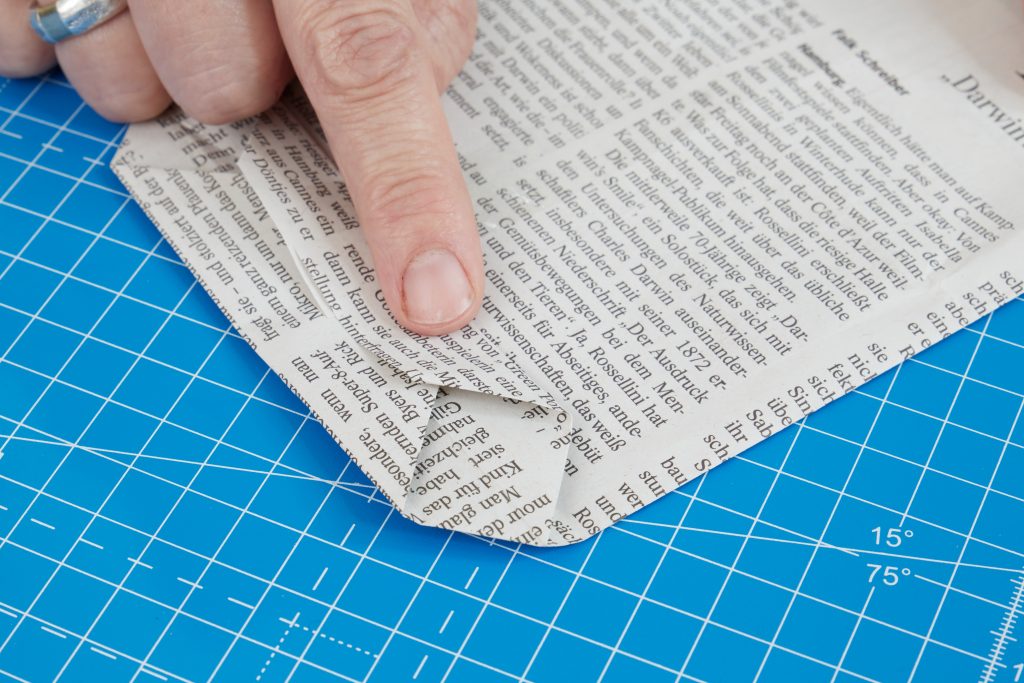
Design the bag
Now you can use the stamp to decorate your bag with a design of your choice. Alternatively, you can attach your own drawings, masking tape or other decorative items. There are no limits to your imagination – do whatever you think looks nice!
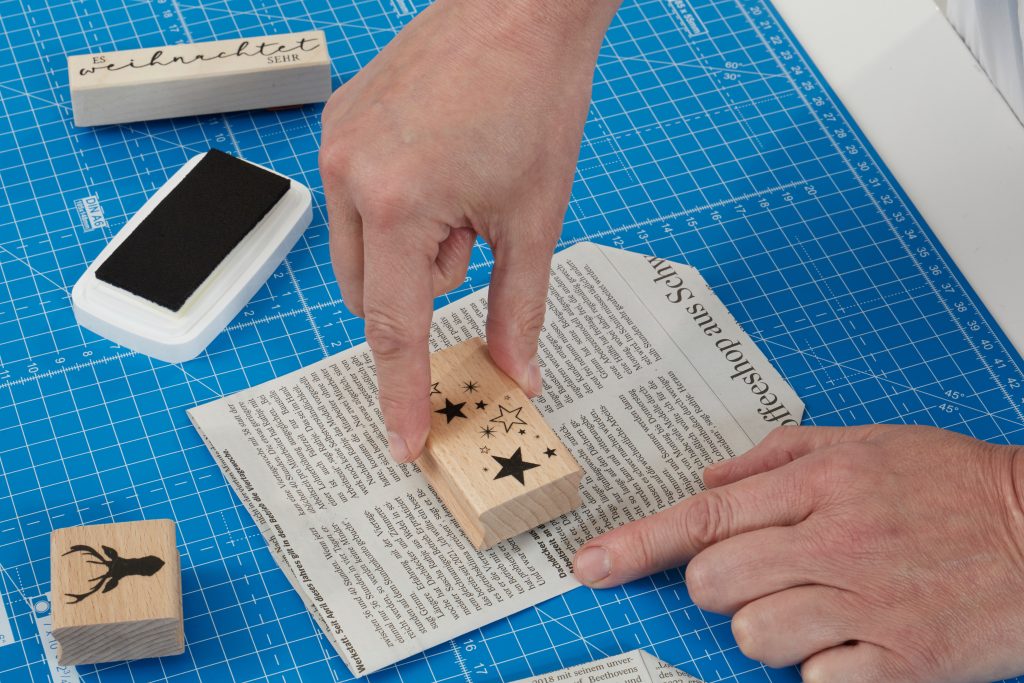
Insert the gift
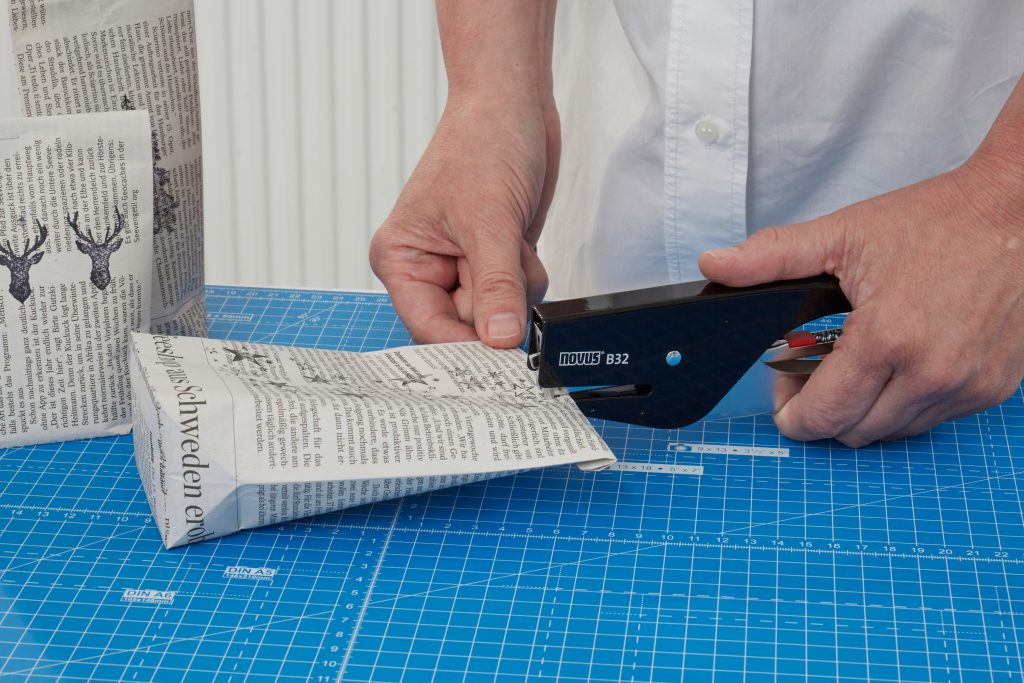
Open the bag, place the gift inside and use a stapler or stapling pliers to close it quickly, neatly and easily.
Cover the staple
If you want, you can cover the metal staple with a strip of decorative masking tape.
Decorate the paper bag
You can also decorate your bag with pegs, pendants or anything else you like.
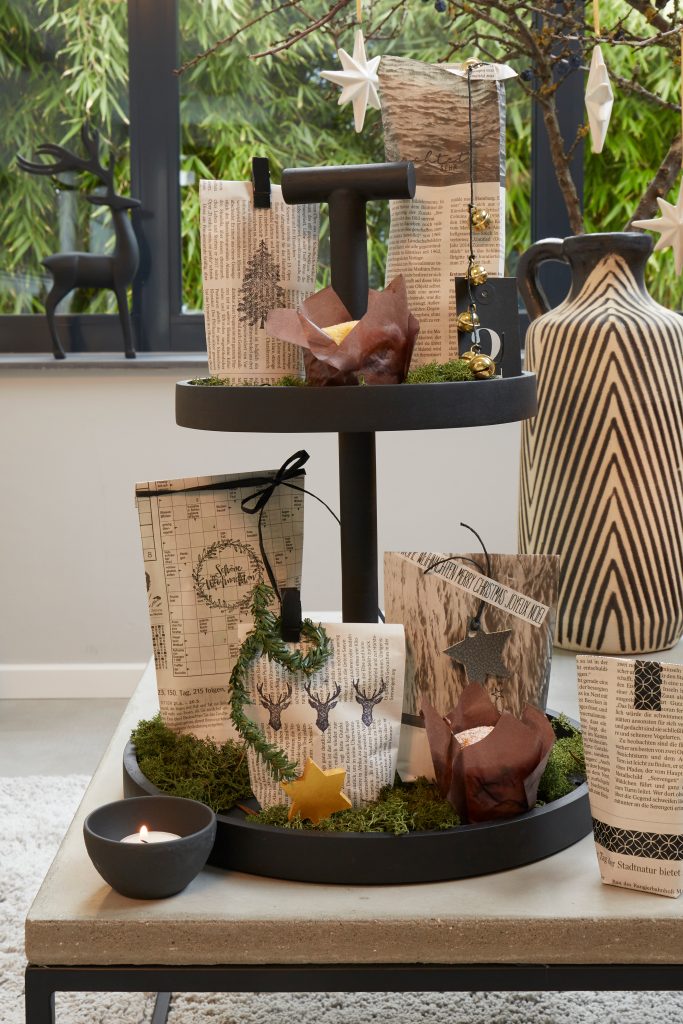
Your home-made gift bag is ready!
For sure, the recipient of your gift will love it just as much as its contents.
Here’s another idea: these folded DIY paper bags are of course also great for a home-made advent calendar! Simply put numbers from 1 to 24 on the paper bags and insert your little (or big) surprises. Then arrange the bags however you like, for example by using decorative ribbons to hang them from a branch, placing them on a pretty tray or cake stand, or presenting them in a Christmas-themed box.
© images: m2raumkonzepte
