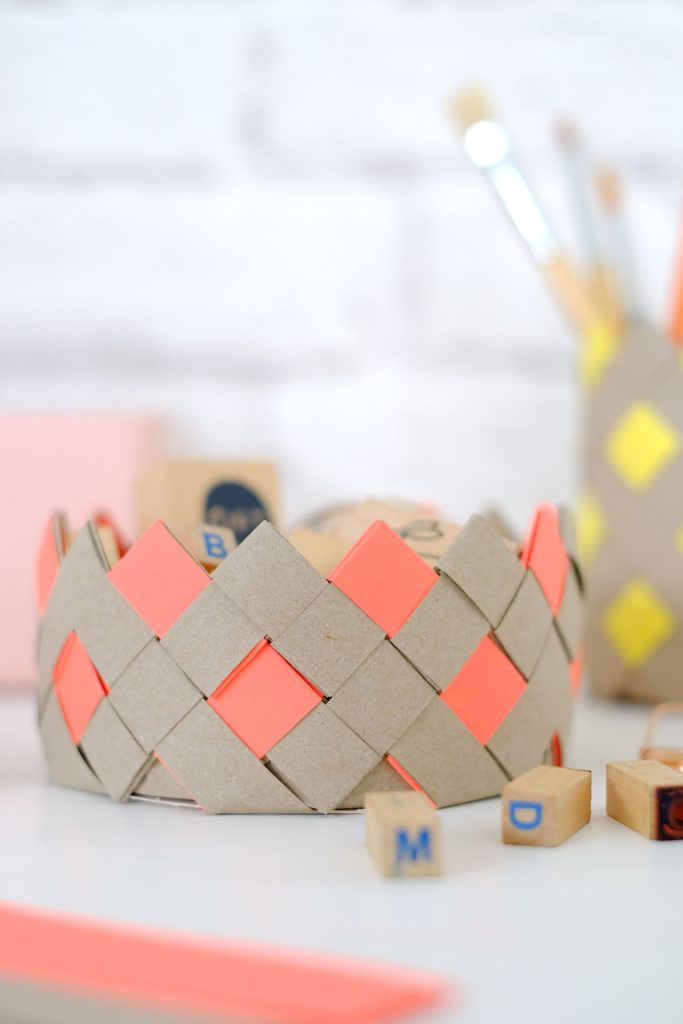
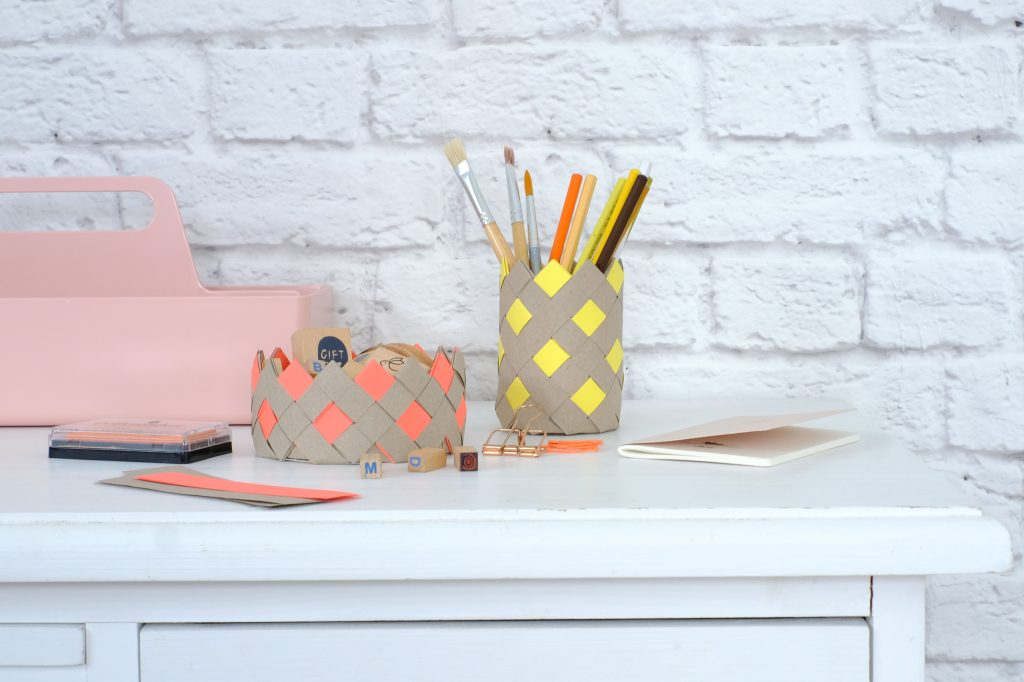
A desk organiser helps to keep your desk in order. It’s a great place to keep all those odds and ends that would otherwise clutter your desk. Our great-looking hand-made desk organisers made of paper strips are a special eye-catcher that will brighten every desk with their bold colours. The quiver is great for holding pens, the tray is perfect for small items like staples, erasers, paper clips, etc. And the best part: once you’ve got the knack, these paper organisers are quick to make yourself. How? Let Lisa at the Dekotopia blog show you with a simple instruction:
You need:
- Packing paper
- Coloured paper
- DAHLE 534 paper guillotine
- DAHLE 54307 crafting scissors Office Titanium
- DAHLE 10691 cutting mat
- Compass
- Stiff card
- Craft glue (glue stick)
- DAHLE 10683 cutting ruler
Step 1:
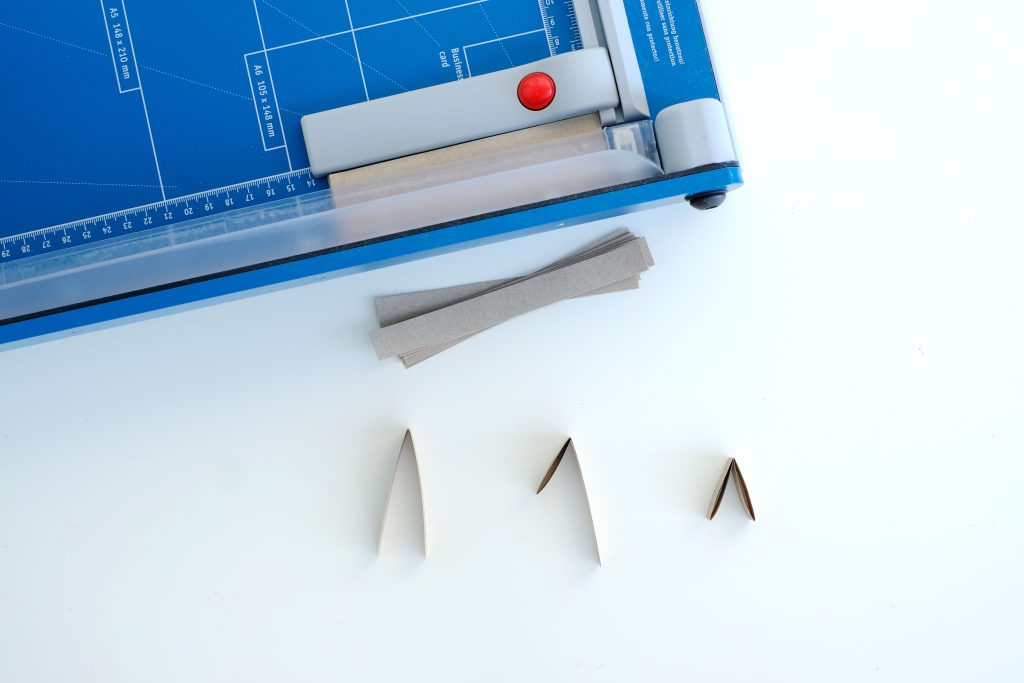
Use the guillotine to cut the packing paper and the coloured paper into strips of 13 x 1.5 cm each. For the pen quiver, you’ll need 20 strips per row: 5 x coloured, 15 x packing paper (60 strips in total). For the tray, you’ll need 32 strips per row: 8 x coloured, 23 x packing paper (64 strips in total).
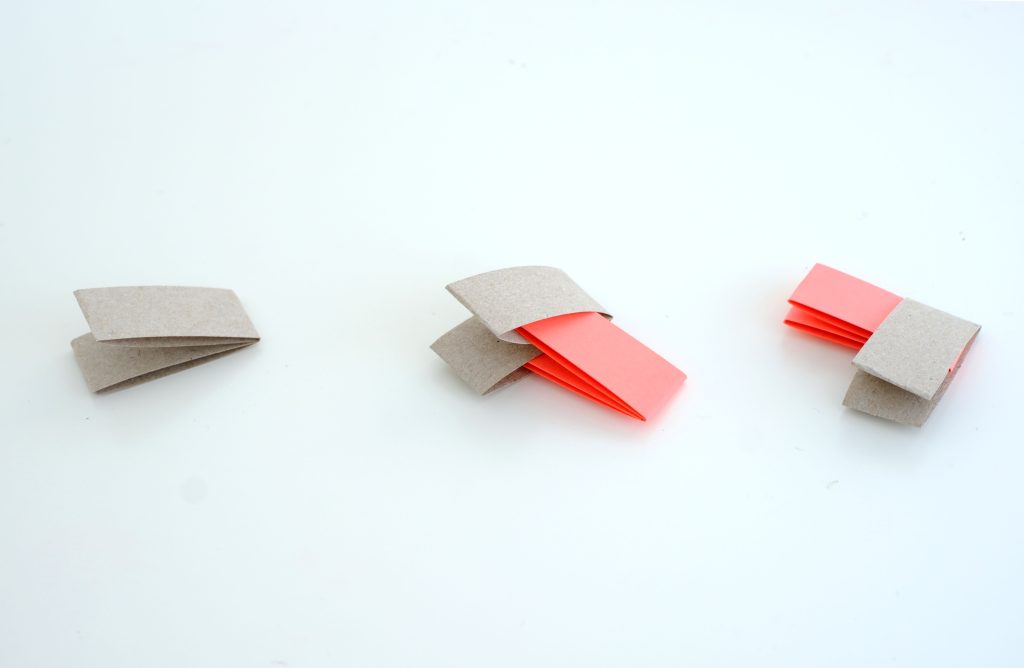
Fold the paper strips once down the middle and then fold both ends toward the centre. Save one strip per row and only fold it once down the middle.
Step 2:
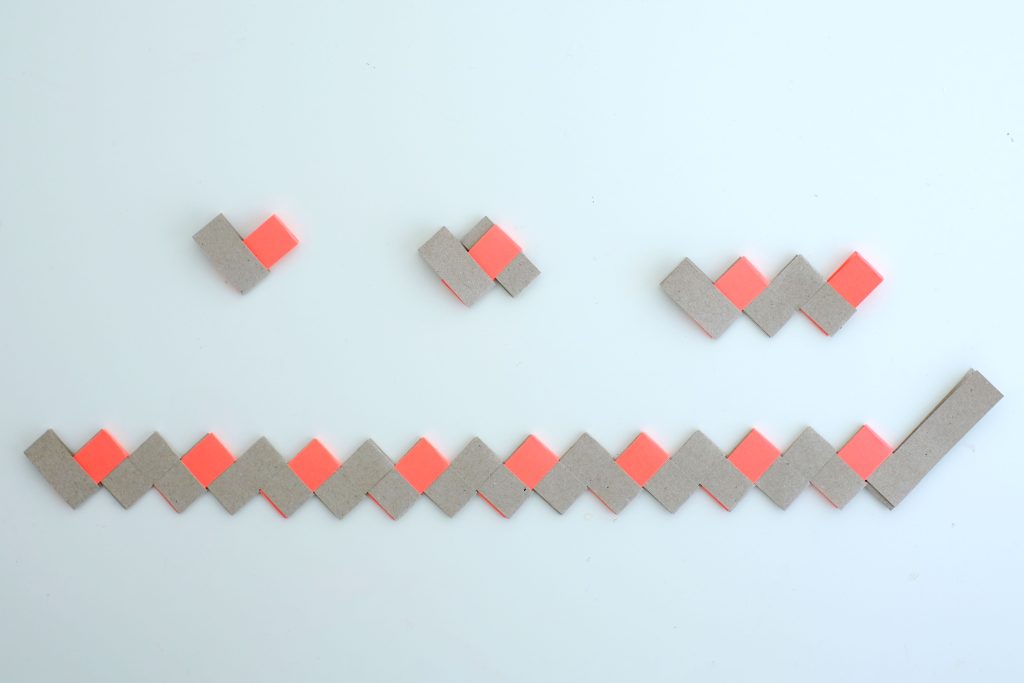
Now connect your individual pieces. Take a piece of packing paper and push a coloured piece through the two tabs.
Step 3:
Then push a piece of packing paper through the two tabs of the coloured piece. Now repeat with one piece of packing paper, then 1x coloured, then 2 x packing paper, 1 x coloured, 2 x packing paper, etc. In the end, use the strip you only folded once down the middle.
Step 4:
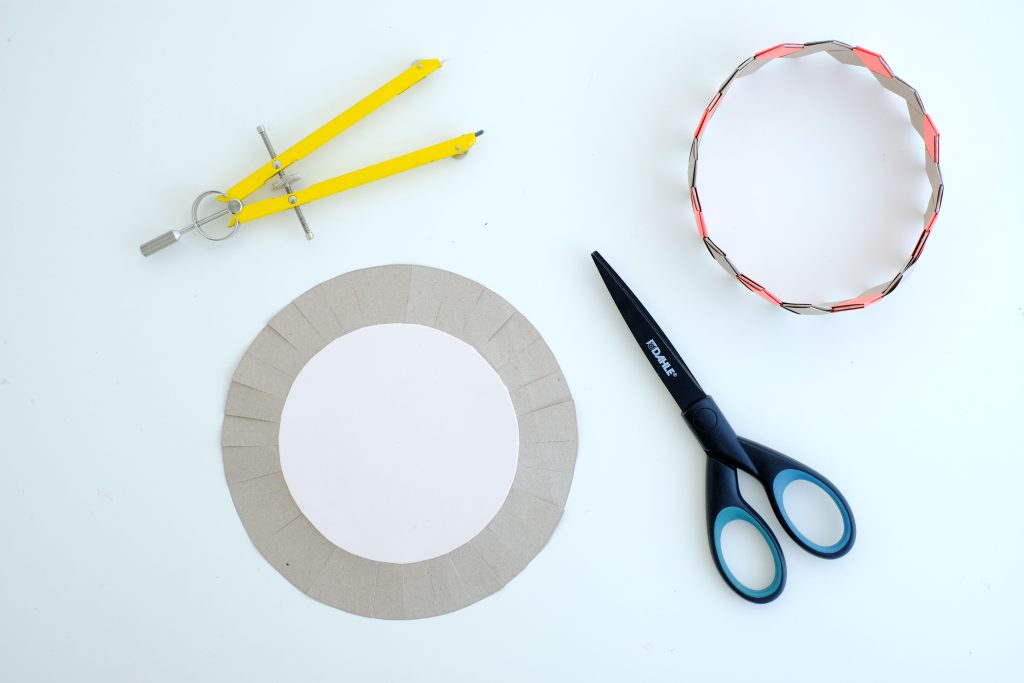
Now close the ring by sticking the long piece into the tab of the first piece,
bend the protruding pieces and push them through the outer and inner tab. Now you have a ring. If something sticks out, just cut off the end. You’ll need three rings for the pen quiver and two for the tray.
Step 5:
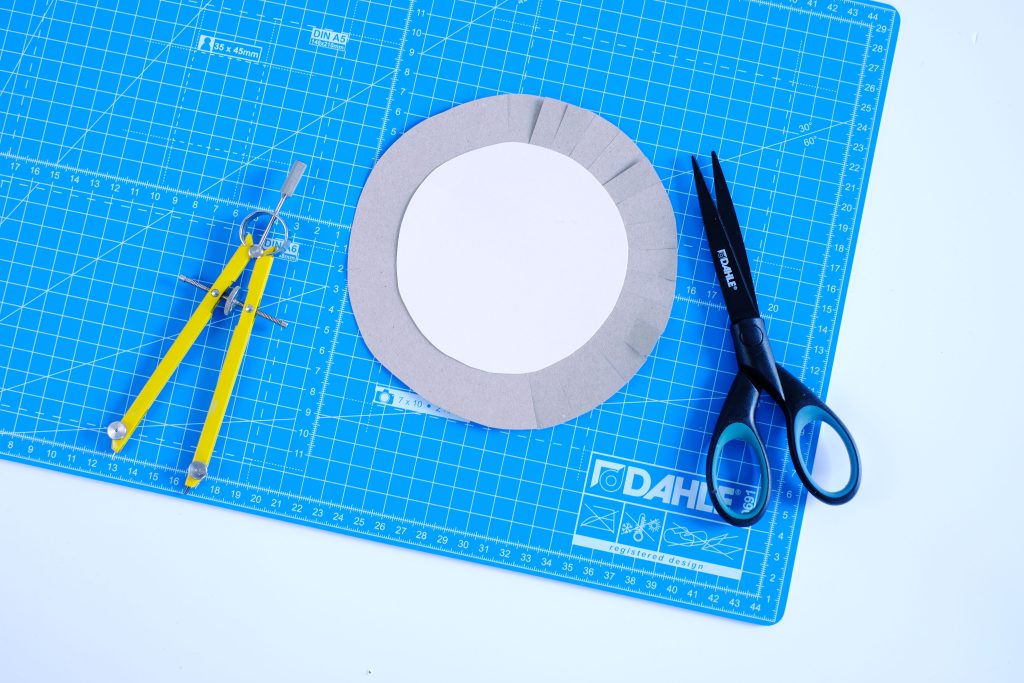
Cut out the base from some stiffer paper or card. For the base, use the compass to draw a circle of 11 cm (tray) and one of 7 cm (pen quiver) and cut out both circles. Glue the circle onto a piece of packing paper with craft glue and cut it out 2–3 cm larger than the card circle. Now make cuts in the packing paper from the edge inward to the card.
Step 6:
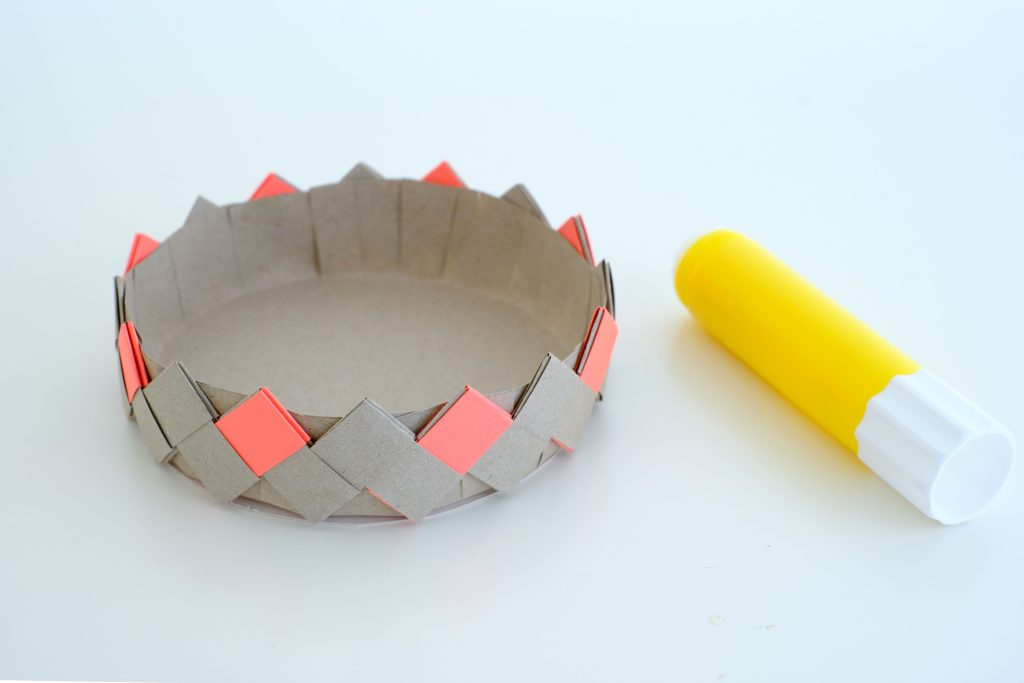
Glue your base into the inside of the paper ring with those tabs.
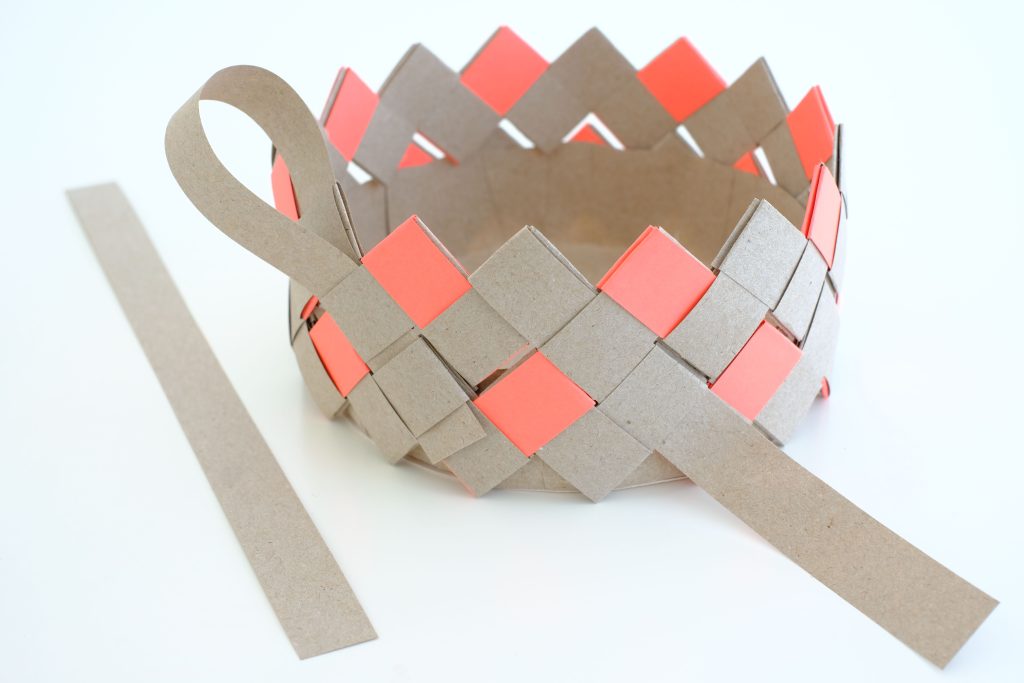
Step 7:
Now all you have to do is connect all the parts. To do that, you’ll need longer strips of packing paper:
- For the tray: 8 strips of 15 x 1.5 cm each
- For the pen quiver: 5–10 strips of 23 x 1.5 cm each
Lay your rings on top of one another and stick a paper strip into the middle of a piece of packing paper at the very top. Now weave the paper strip through both rings and glue it to the base with craft glue. Weave only in the places where you didn’t use coloured paper so you don’t cover it up.
