February is just the right time of the year for building a cold frame in your garden, so vegetables and herbs etc. will have plenty of time to grow. The great advantage of a cold frame is that it makes it possible to grow herbs and vegetables just about all year round, since a plastic sheet as a roof protects seeds and plants from the cold. So it’s ideal for regularly harvesting fresh vegetables for healthy living. You’ll be able to make some delicious meals for the office, as well as for eating at home.
In this article, we show you how to make your own cold frame and what you should look out for when it comes to planting. Our recipe for a delicious salad will help you make the most of your crop to make a healthy office lunch.
The advantages of a cold frame in the garden
The cold frame: once very popular, it has practically been forgotten in recent years. However, growing your own vegetables has become really popular once again and so the cold frame is enjoying its own revival.
- Growing vegetables is even possible if there is a frost
- Vegetables can be harvested sooner with a cold frame
- The greenhouse effect protects the plants against the cold and rain and gives young plants the ideal conditions to grow
- Plants with a longer growing time can be started off in the cold frame before being moved to the vegetable patch
- A cold frame can be set up in small gardens or even on a balcony
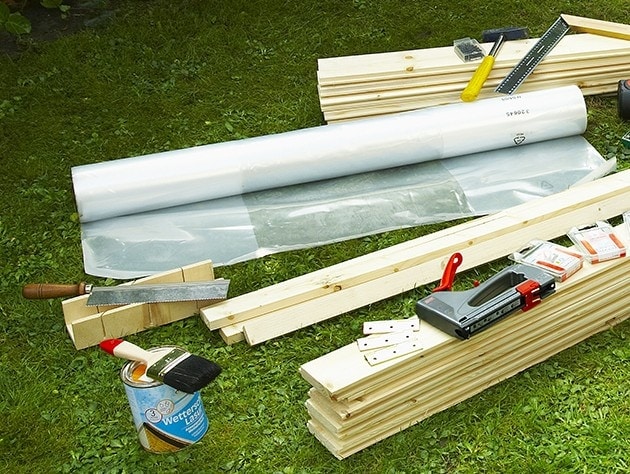
Instructions: Build your own cold frame
You will need:
- Wooden slats, pressure treated or painted with non-toxic varnish after construction
- Polystyrene for insulation
- Air-permeable plastic film
- Hinges
- Tools (drilling machine, hand saw, cordless screwdriver)
- Screws
- Tacker, e.g. Novus J-29
- Staples (flat wire for film and polystyrene)
You can be flexible with the dimensions of your cold frame. Make sure that the frame is high enough for it to be filled with soil. Sample dimensions: back wall 40 cm high and front wall 30 cm high. Lengths 100 cm and 150 cm.
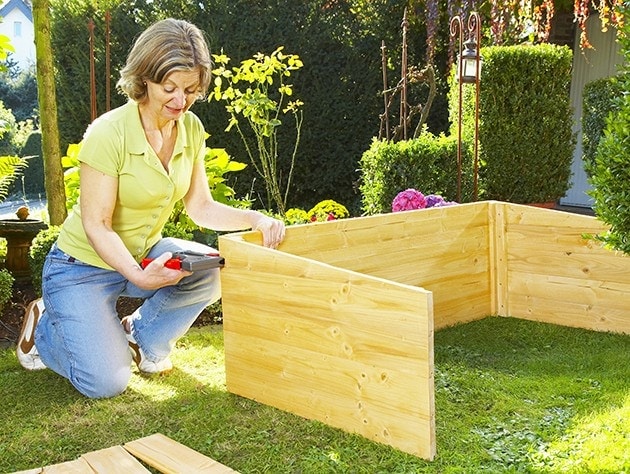
Step 1
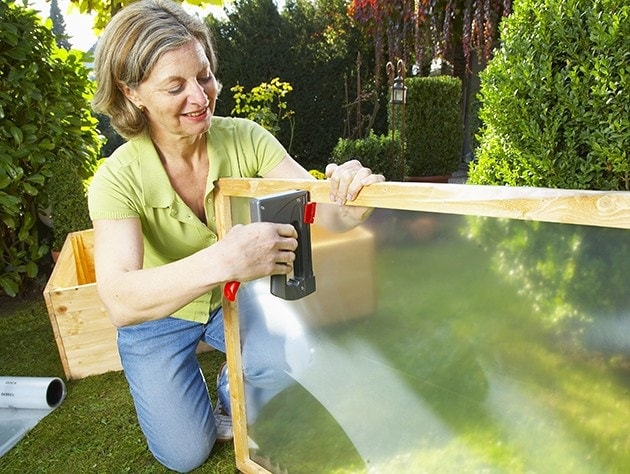
Step 2
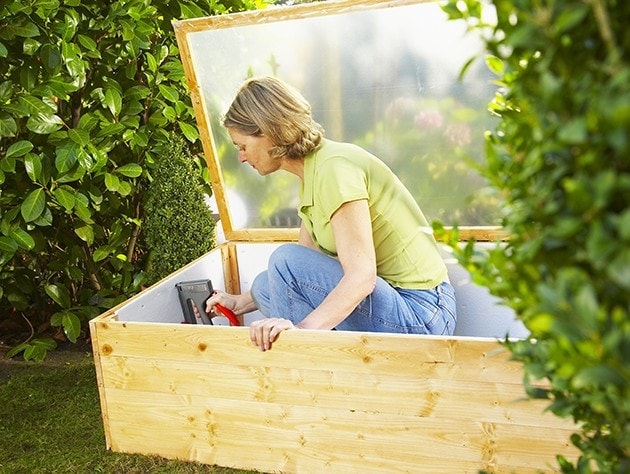
Step 3
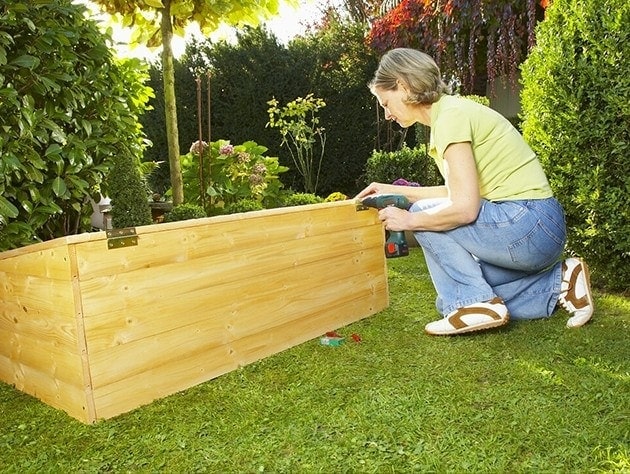
Step 4
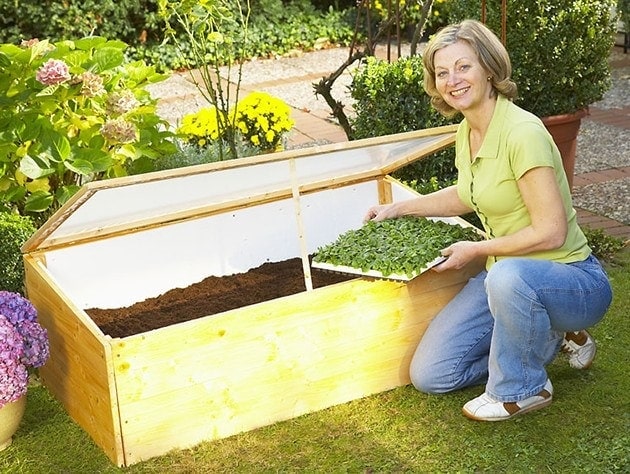
Location of the cold frame:
Choose a sunny place for your cold frame to give the plants the best conditions for growth. However, the temperature inside the frame should not exceed 22 to 25°C. Regular ventilation is therefore important. Something that is often underestimated: even winter sun has a lot of power to increase the temperature inside the frame so ventilation is important even in winter.
Prepare the cold frame
As soon as you’ve found a place for your cold frame, you will need to prepare the soil. Place the frame on the selected area and mark the outline using a spade. Now break up the soil in this area. The best foundation for the frame is garden soil rich in humus, which has been carefully weeded. If you want to fill the frame with manure, you should dig out about half a metre deep. Manure provides natural heat and ensures the ideal conditions for growing plants.
For semi-mature compost, just dig out to the depth of the spade. Then fill the hole back in and cover it with a mixture of garden soil and mature compost. Now replace the frame on top. To provide additional insulation for the outside walls, cover them with straw and leaves.
If the compost is half ripe, it is sufficient to dig about a spade’s depth. Then close the depression again and cover it with a mixture of garden soil and mature compost. Now place the cold frame back on the surface. The outer walls can also be covered with straw and leaves to provide additional insulation.
Planting in the cold frame
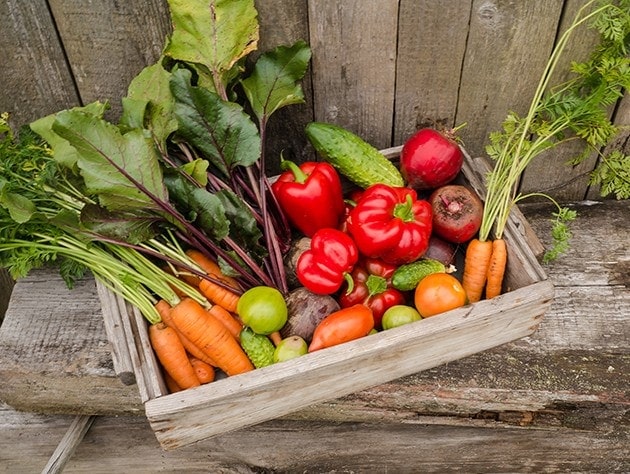
Before planting, leave your frame to rest for about a week to get rid of the ammonia fumes. You can start sowing as early as January, with wild garlic or spinach for example. In February, you can sow salad vegetables, such as lamb’s lettuce and lettuce, and all sorts of other vegetables, such as radishes, broccoli, carrots and turnip.
For plants that grow tall, such as tomatoes and beans, the seedlings should be planted outside in the open as soon as there is no longer any risk of frost. In summer, peppers, aubergines, cucumbers and melons thrive in the cold frame. So there are no limits when it comes to planting in your cold frame.
A delicious salad recipe for the office, made with ingredients from your cold frame
Those who build their own cold frame can enjoy fresh vegetables over a long period. A fresh salad for lunch is quick to prepare and prevents afternoon sleepiness. Here are some simple instructions for you:
Salad for the office:
Ingredients:
- 2 handfuls lettuce
- 1/2 pepper
- 1/4 cucumber
- Sunflower seeds
- Feta cheese
- 3 handfuls basil
- Olive oil
- 1 clove of garlic
- Salt & pepper
Method:
- Wash the lettuce, pepper and cucumber and finely chop.
- Make a pesto by making a purée out of the basil, olive oil and crushed clove of garlic. Season with salt and pepper.
- Dice the feta cheese.
- Put all the ingredients in a salad bowl and mix with the pesto. Serve with baguette.
