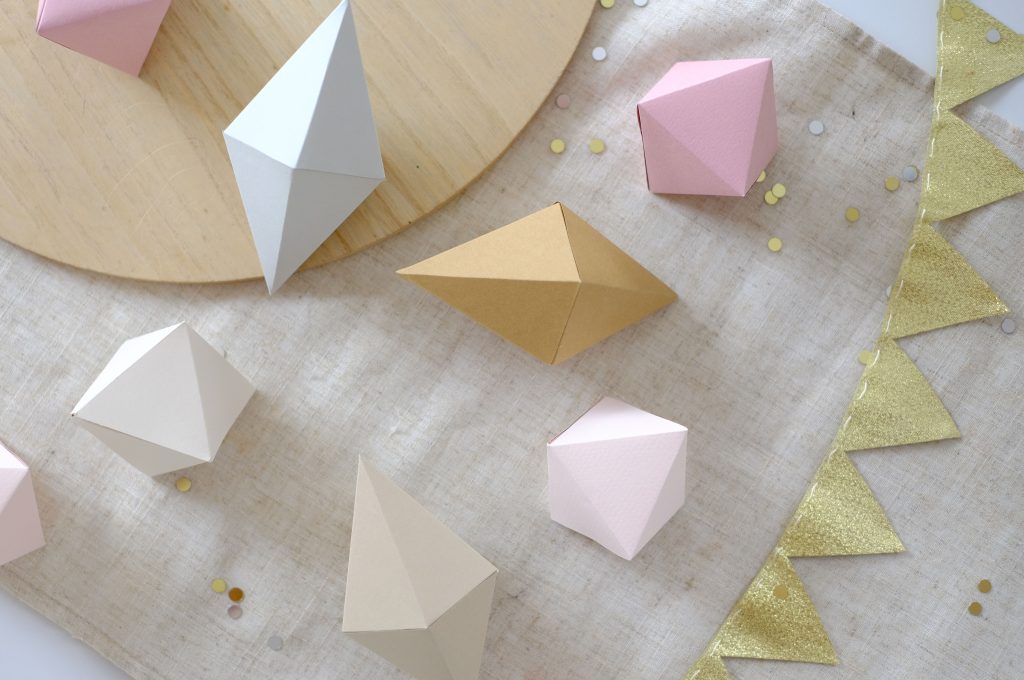
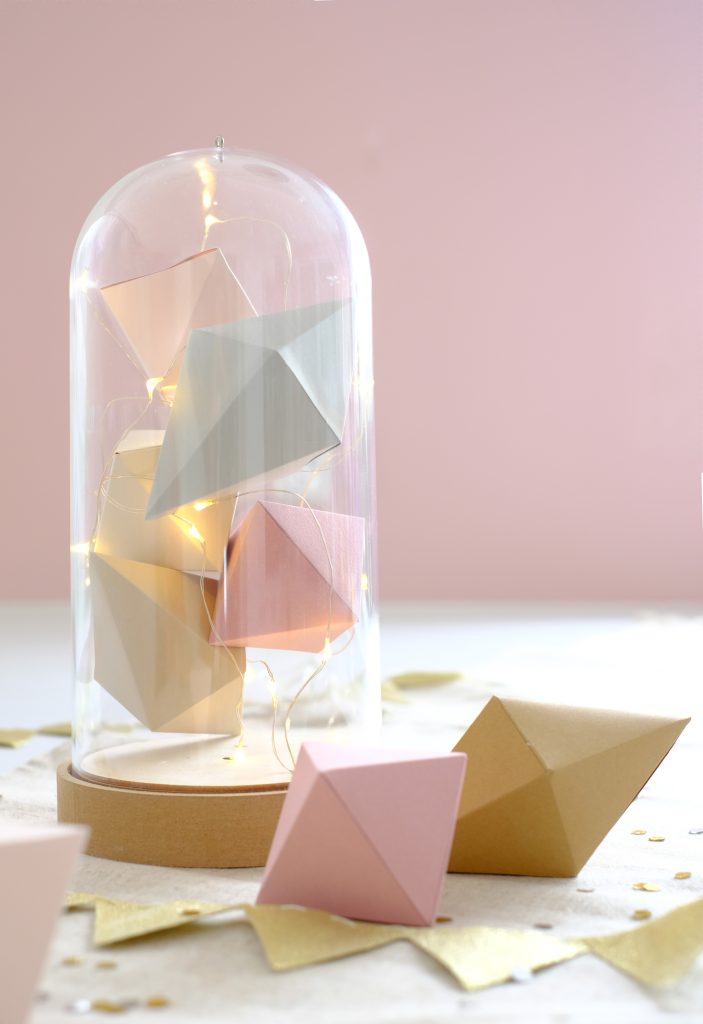
A refined look – yet quick and easy to make yourself: The paper diamonds are the perfect gift for a wedding, birthday, or just for yourself as a striking decoration for you home. Whether used individually or combined with a plain glass cylinder and a mini string of lights: The Paper Gems create a festive atmosphere and are always a stylish eye-catcher. Lisa at the Dekotopia blog has prepared great instructions for you to make your very own paper diamonds in two sizes.
You need:
- Stiff paper (weight 130–180 g)
- Print pattern
- Rollenschneider DAHLE 507
- Creative Set DAHLE 980 (folding head)
- Optional: paper-folding tool (bone folder)
- DAHLE 10683 cutting ruler
- DAHLE 10691 cutting mat
- DAHLE 54307 crafting scissors Office Titanium
- Hot glue
- Decorative glass dome
- Mini string of lights

Step 1:
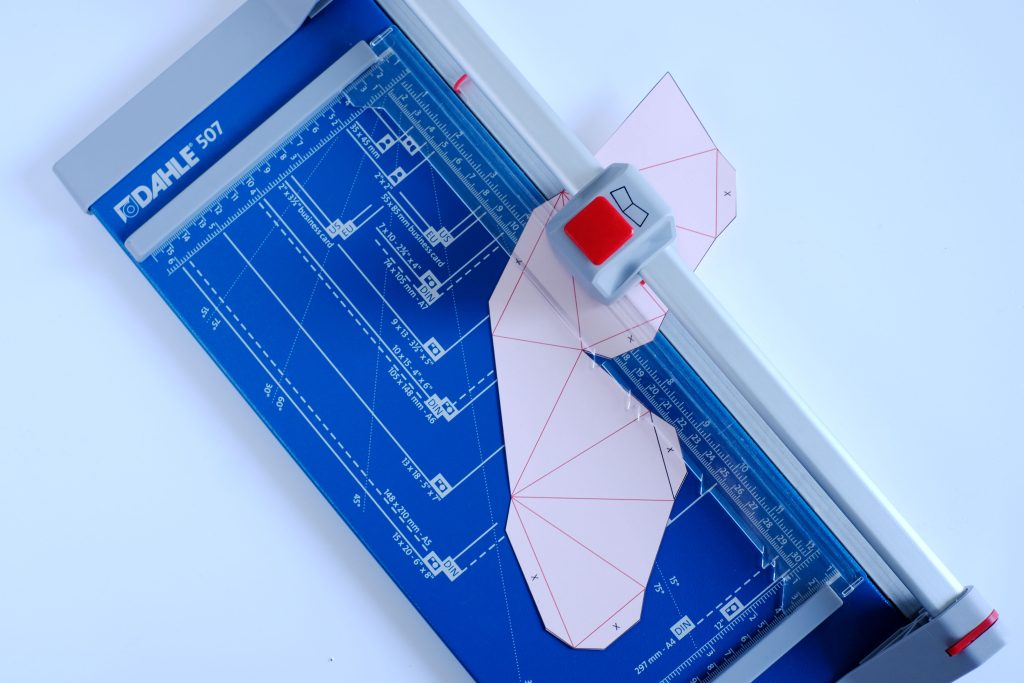
Print the pattern (here are the patterns for the small diamond and the large diamond) on your paper and cut it out. Use the rotary trimmer for the lines that can easily be cut in a straight line, it’ll be quicker that way. Cut the more delicate parts with the scissors.

Step 2:
Use the folding head from the Creative Set to fold the lines of the pattern that are marked in red. Alternatively, you can also use a paper-folding tool and a ruler. It’s best to place your paper on a cutting mat, so you don’t leave scratches in your table top when you do the folding.

Step 3:
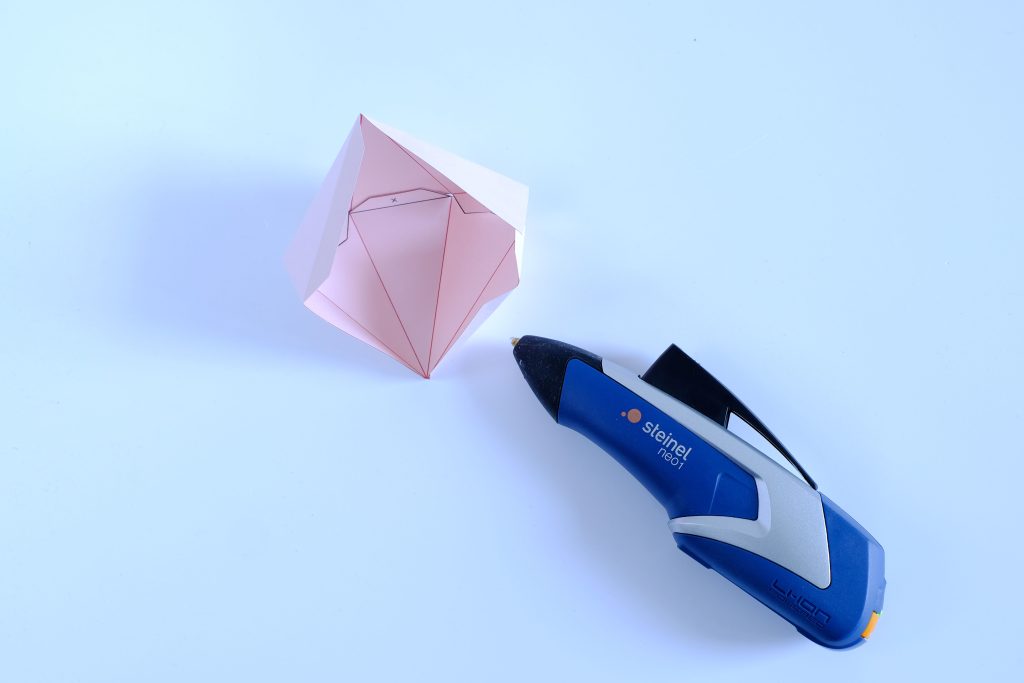
Now fold the pre-folded lines and glue the diamond together by the tabs using the hot glue. Alternatively, you can also use craft glue or double-sided tape.

Step 4:
To fill a decorative tray or glass dome, you can make several diamonds. For variety and a grand effect, you can mix several smaller and larger diamonds and use different colours of paper.
Optional step for the decorative glass dome:
Thread a mini string of LED lights through the base of your dome (you may have to drill a hole in it). Now fill your paper diamonds into the top of the dome, attach the base and place your new decorative item wherever you like.
