Today we’ll be using nails instead of screws
Almost everyone knows the traditional bird feeder on a pedestal. Here’s our crafting idea for a hanging bird feeder that will find a home in any tree. And there’s no need to reach for your battery-operated screwdriver – you can do it all with the J-29 hand tacker from Novus. DIY magazine “selber machen” rated our hand tacker “very good” due to its practical handling and precise results, so now it’s it even easier to choose the right hand tacker. When buying a hand tacker, always make sure the device includes the functionalities you need for your specific application. The Novus J-29 tacker is the perfect tool for your DIY projects. Our crafting instructions will help you keep boredom at bay and make the songbirds in your garden happy as well.

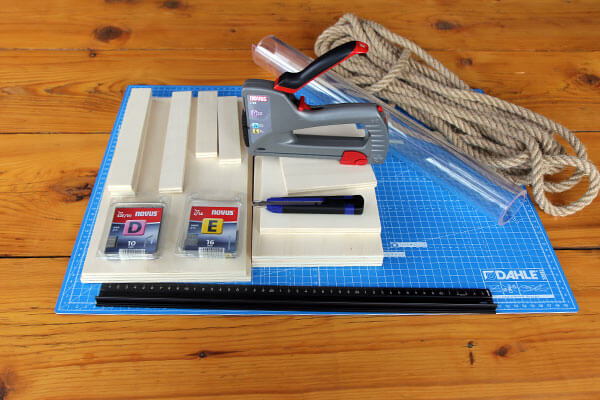
Here is our materials list:
Tools and fixing materials
- A fine handsaw
- Hand tacker with nail function, Novus J-29
- Nails, 16 mm long, Novus E type J
- Flat wire staples, 6 mm long, Novus D type 53F
Crafting materials
- Plywood board (approx. 10 mm thick (because of the 1/3 2/3 rule))
- PVC sheeting 2 mm thick (e.g. table foil)
- Coloured or clear wood preserver
- Wood emery paper
- Approx. 1.2 m rope for hanging
- DAHLE 10692 cutting mat
- DAHLE 10875 cutter
- DAHLE 10684 ruler and pencil
- A battery-operated screwdriver with a wood drill as thick as your rope
Additionally
-
Two different types of bird seed
-
Our bird feeder template to print out
Let’s get started:
Prepare the wooden parts
Transfer the measurements of all individual parts to your wooden board
For the side panels and the separator simply print out our template and trace the shape onto the wood
Cut out the wooden parts, maybe sand down the edges with a little emery paper
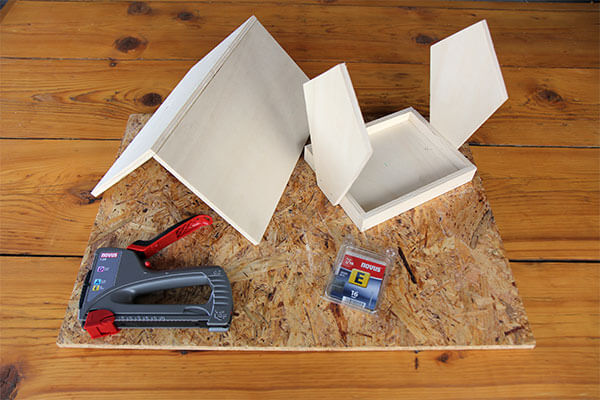
Nail the bird feeder together
Now join the individual parts together: First, add wood strips around the base to form a rim, then attach the side panels (outside) and the separator in the middle.
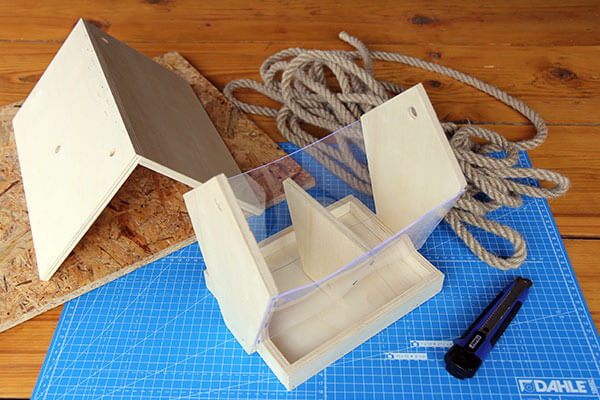
Attach the roof of the bird feeder
Now you can build the roof from the two roof sections and the roof strip. Drill a hole into each roof section at opposite ends of the roof. Also drill a hole at the top of each side panel; this is where you will thread the rope for hanging the bird feeder.
Apply wood preserver
To ensure that your bird feeder is protected from the elements, we recommend applying wood stain. Leave it to dry for a little, then move on to the next step.
Sheeting for the feed reservoir
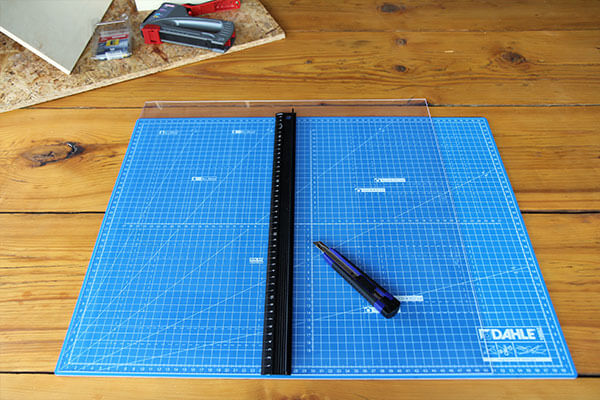
Cut the sheeting into two parts measuring 25 x 13 cm. A lockable cutter and a sufficiently large cutting mat with format lines will make this job really easy.
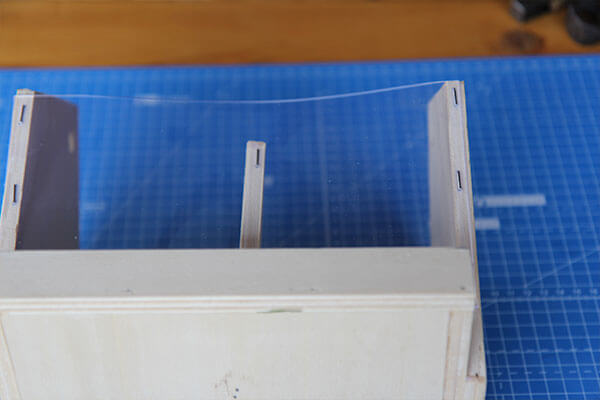
Now you can staple the sheeting to the side panels and the separator from the outside. We recommend using flat wire staples to do this, as they are the best choice for attaching sheeting. Due to their especially broad back, using these tacker staples makes it less likely that the material will tear. (For the correct length, observe the 1/3 2/3 rule. If the sheeting is 2 mm thick, staples of 6 mm length are sufficient to affix the material.
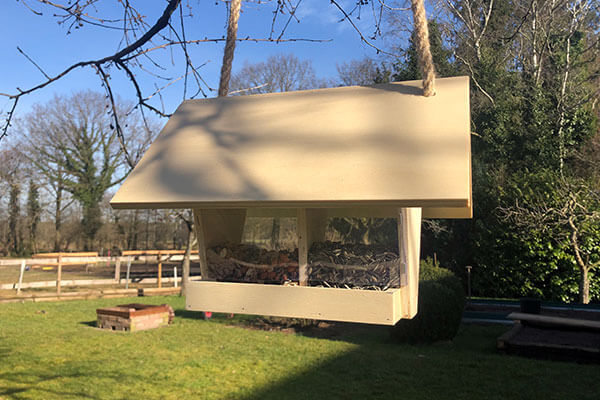
Rope for hanging
Start by making a knot in the rope, then slide it through the hole in the side panel from inside to outside, then from below up through the roof. Now place the rope over the tree branch of your choice, thread the rope first through the roof (downwards from above) on the opposite side and then from outside to inside through the side panel. Tie another knot, and your bird feeder is finished!
Fill with bird seed and hang up
Now you can fill the two sections with bird seed and close the bird feeder. Enjoy watching the birds!
